Back in 2011 I got so tired of seeing the same “cookie cutter bodies” I started a quest to always have a very unique body for my drift car. It started with pre-ordering a limited production R31 Skyline Kombi. They were only supposed to make as many as were pre-ordered, however some shops created “fake” pre-orders so that they could have more to sell. It was unique for a little while but then more and more started to pop up from the “fake” pre-orders and I never really finished it. That really drove forward my desire for unique bodies. I then made a Sil80 by buying two Yokomo bodies, a Silvia PS13 and a 180SX and grafting them together. This was and still is very unique for a Yokomo body (I’ve only ever seen one other), however Pandora now makes a Sil80 body. So the quest continued…
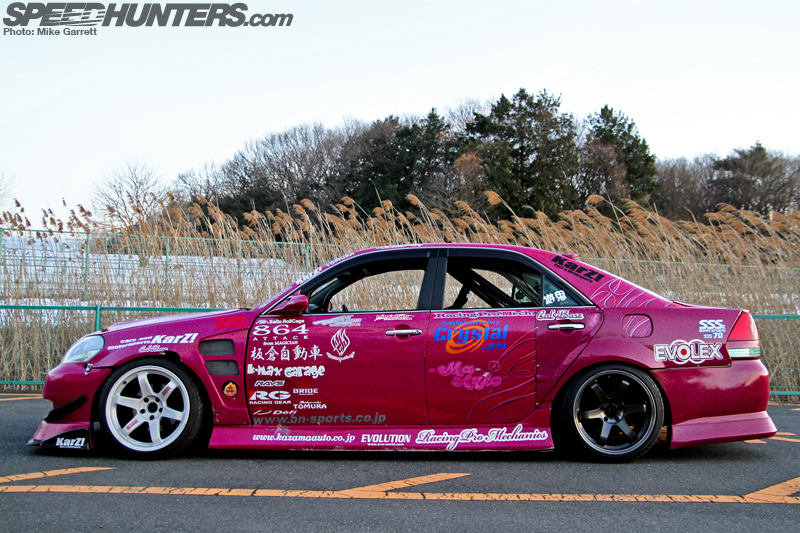
I then found a JZX110 body and ordered that because I’ve always been a sucker for big Toyota sedans. It didn’t really fit my “unique” quest because it is possible for anyone to order, however it’s a bit hard to do as they are only available from Japanese shops whose websites are mostly in Japanese so most people don’t bother. I’ve had this body for nearly 2 years now and decided to finish it for the Halmstad Autumn 2013 meet. In looking around for inspiration I found the Team Magician JZX110 and decided that I’d replicate the inspiration of it. It won’t be an exact replica, instead I am going for more of the feel of it which is a D1 Street Legal car (instead of D1 Pro) that belongs to a local team and not a big pro shop.
Here’s the inspiration shot:
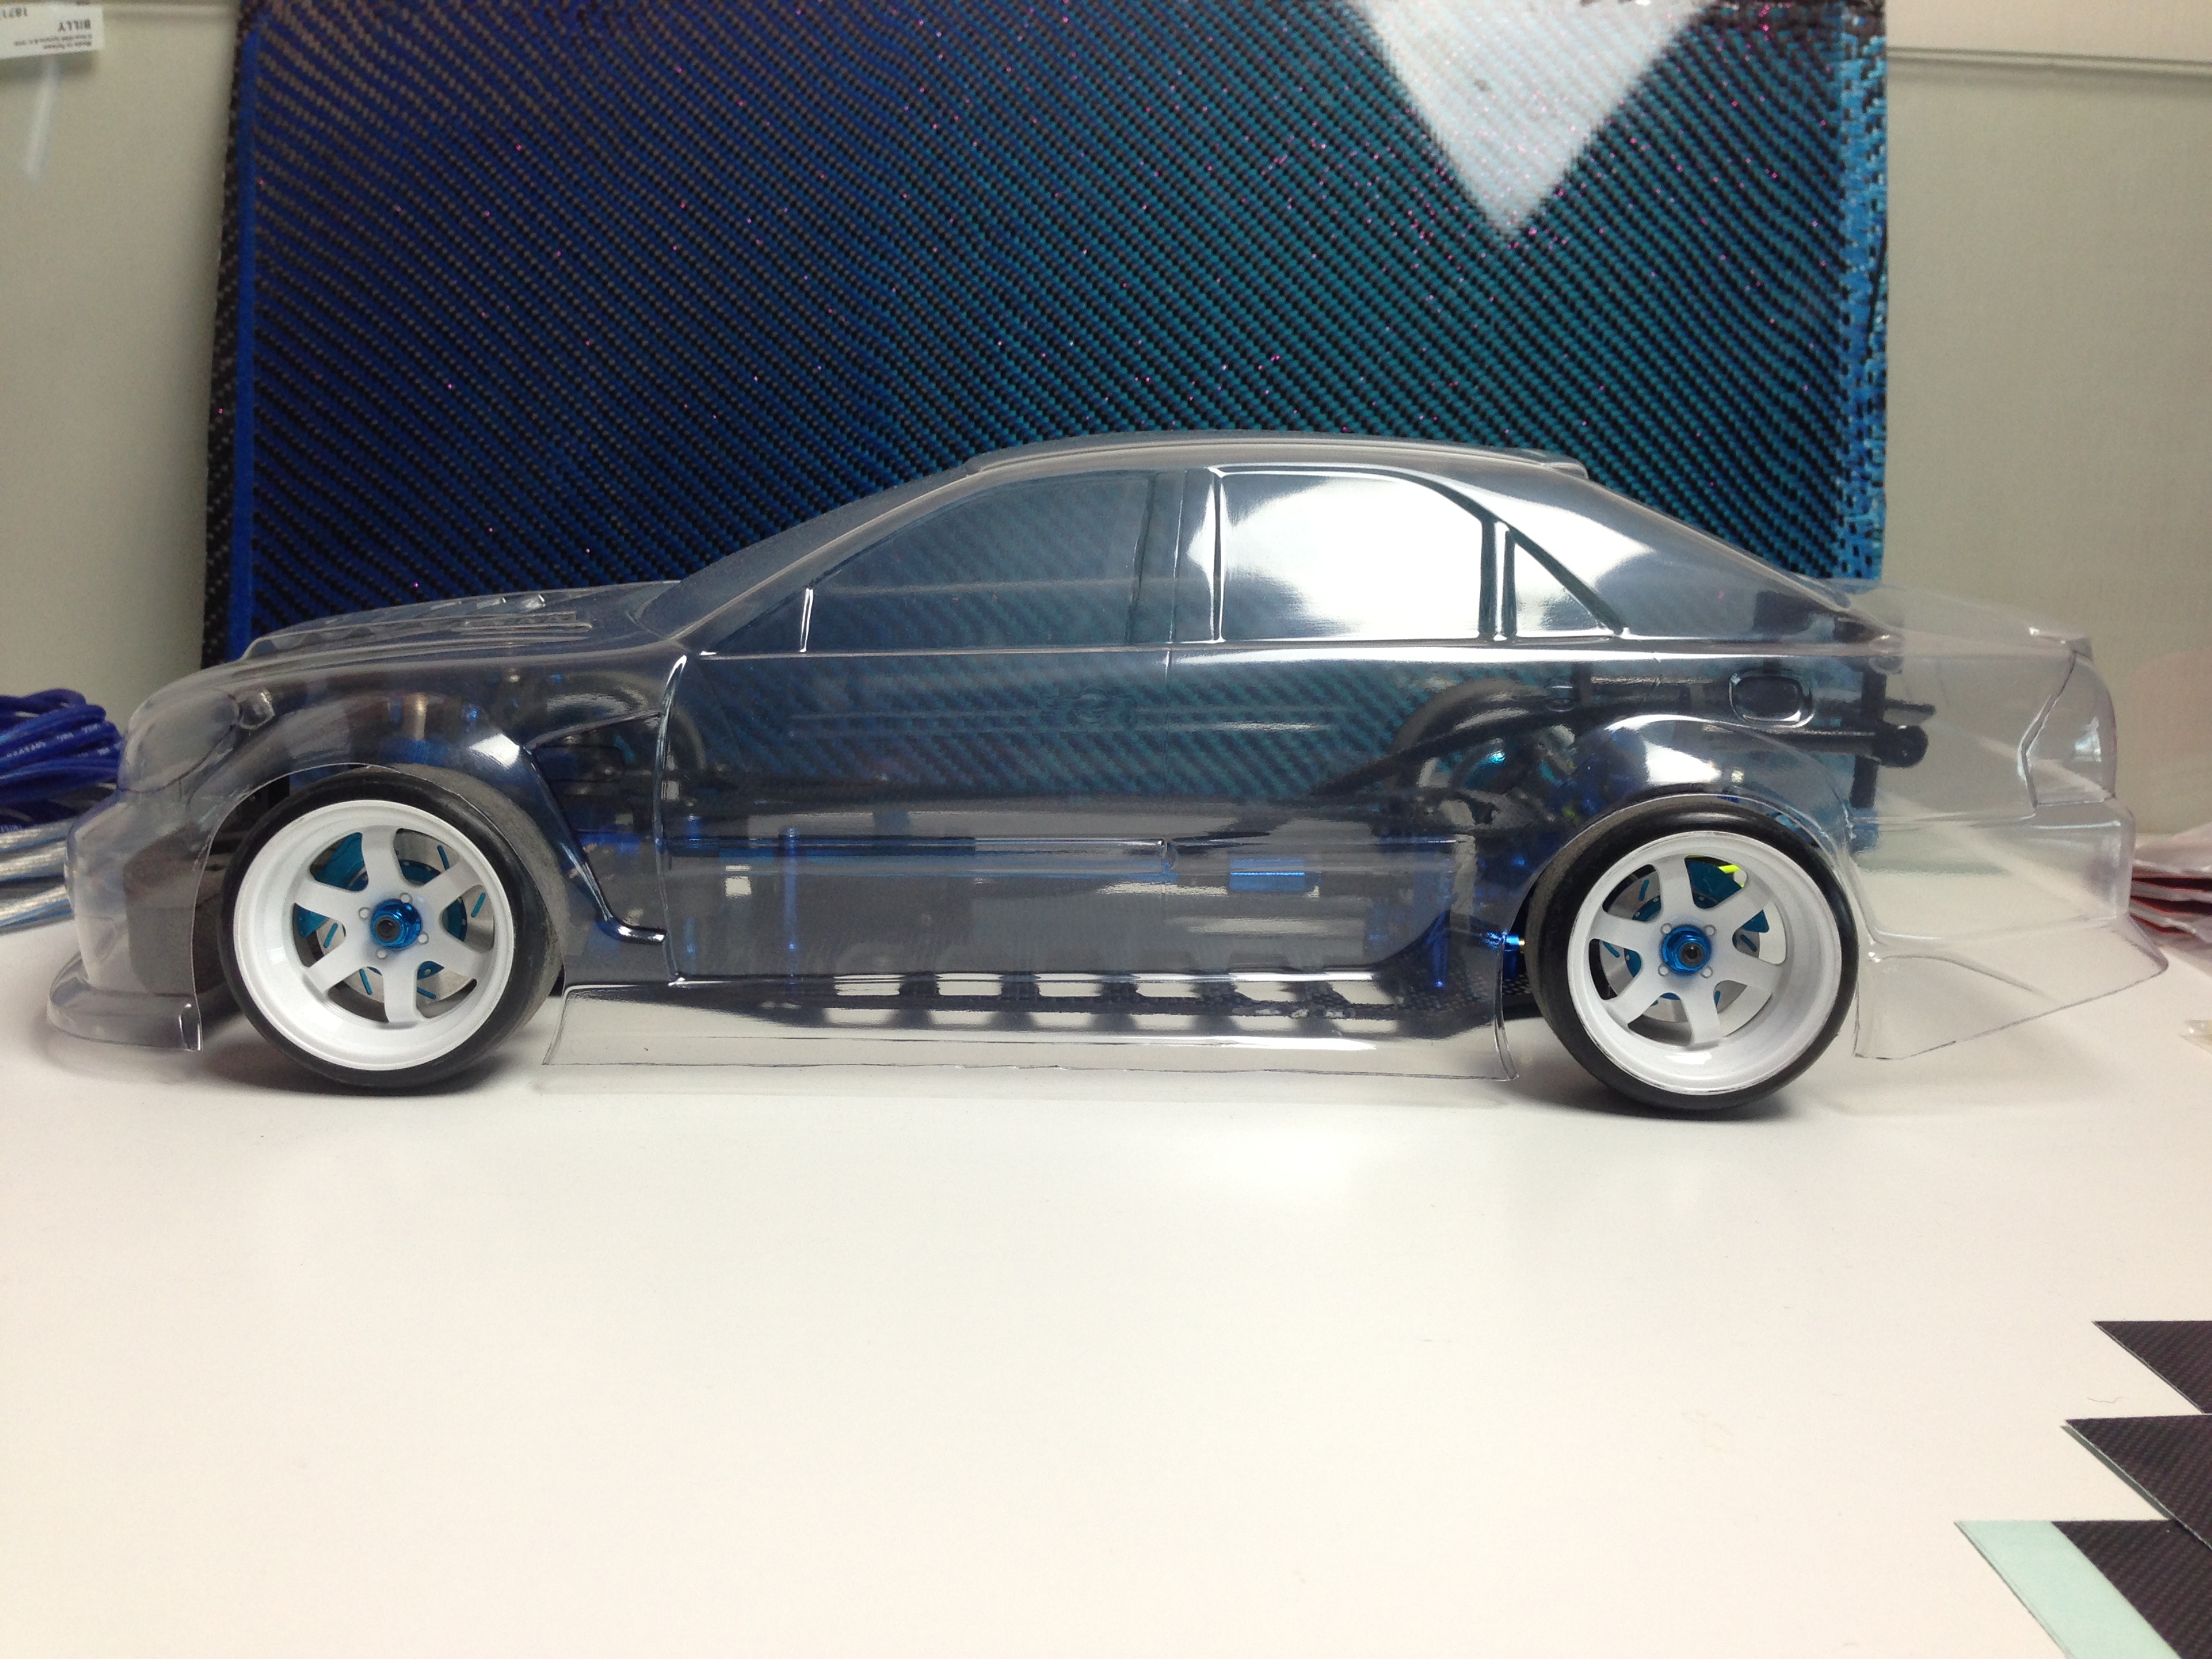
Body cut and trimmed up:

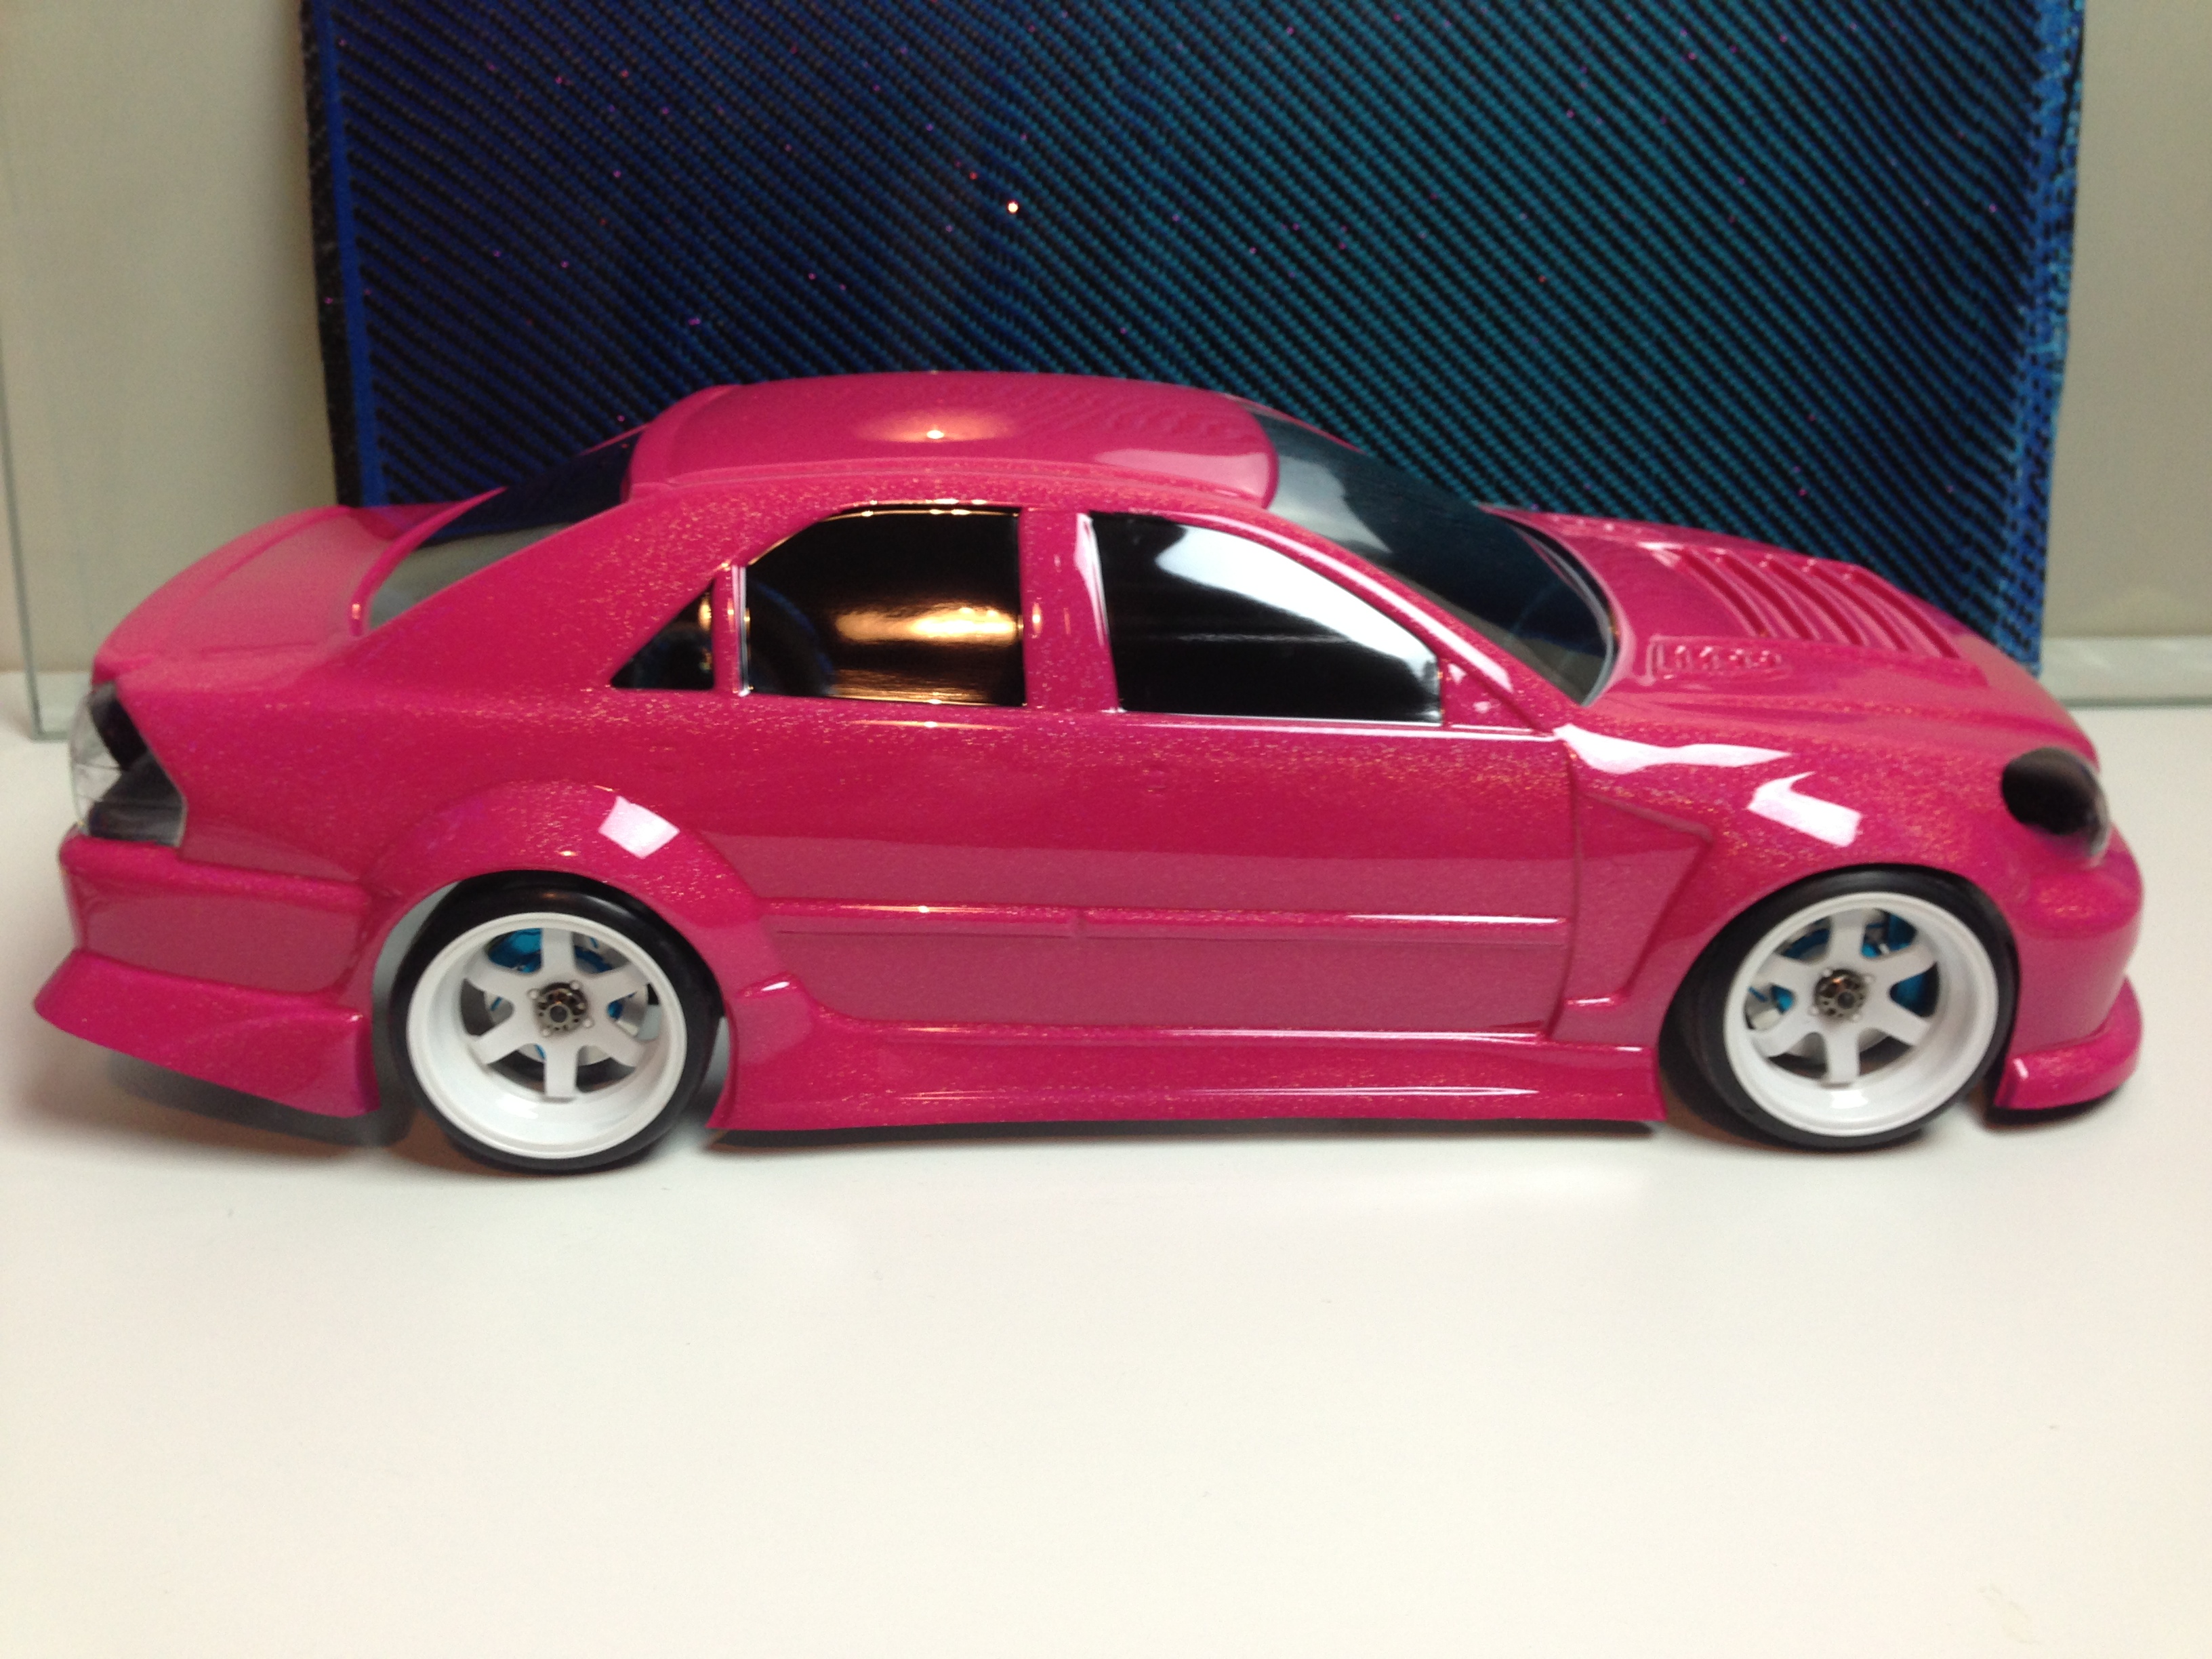
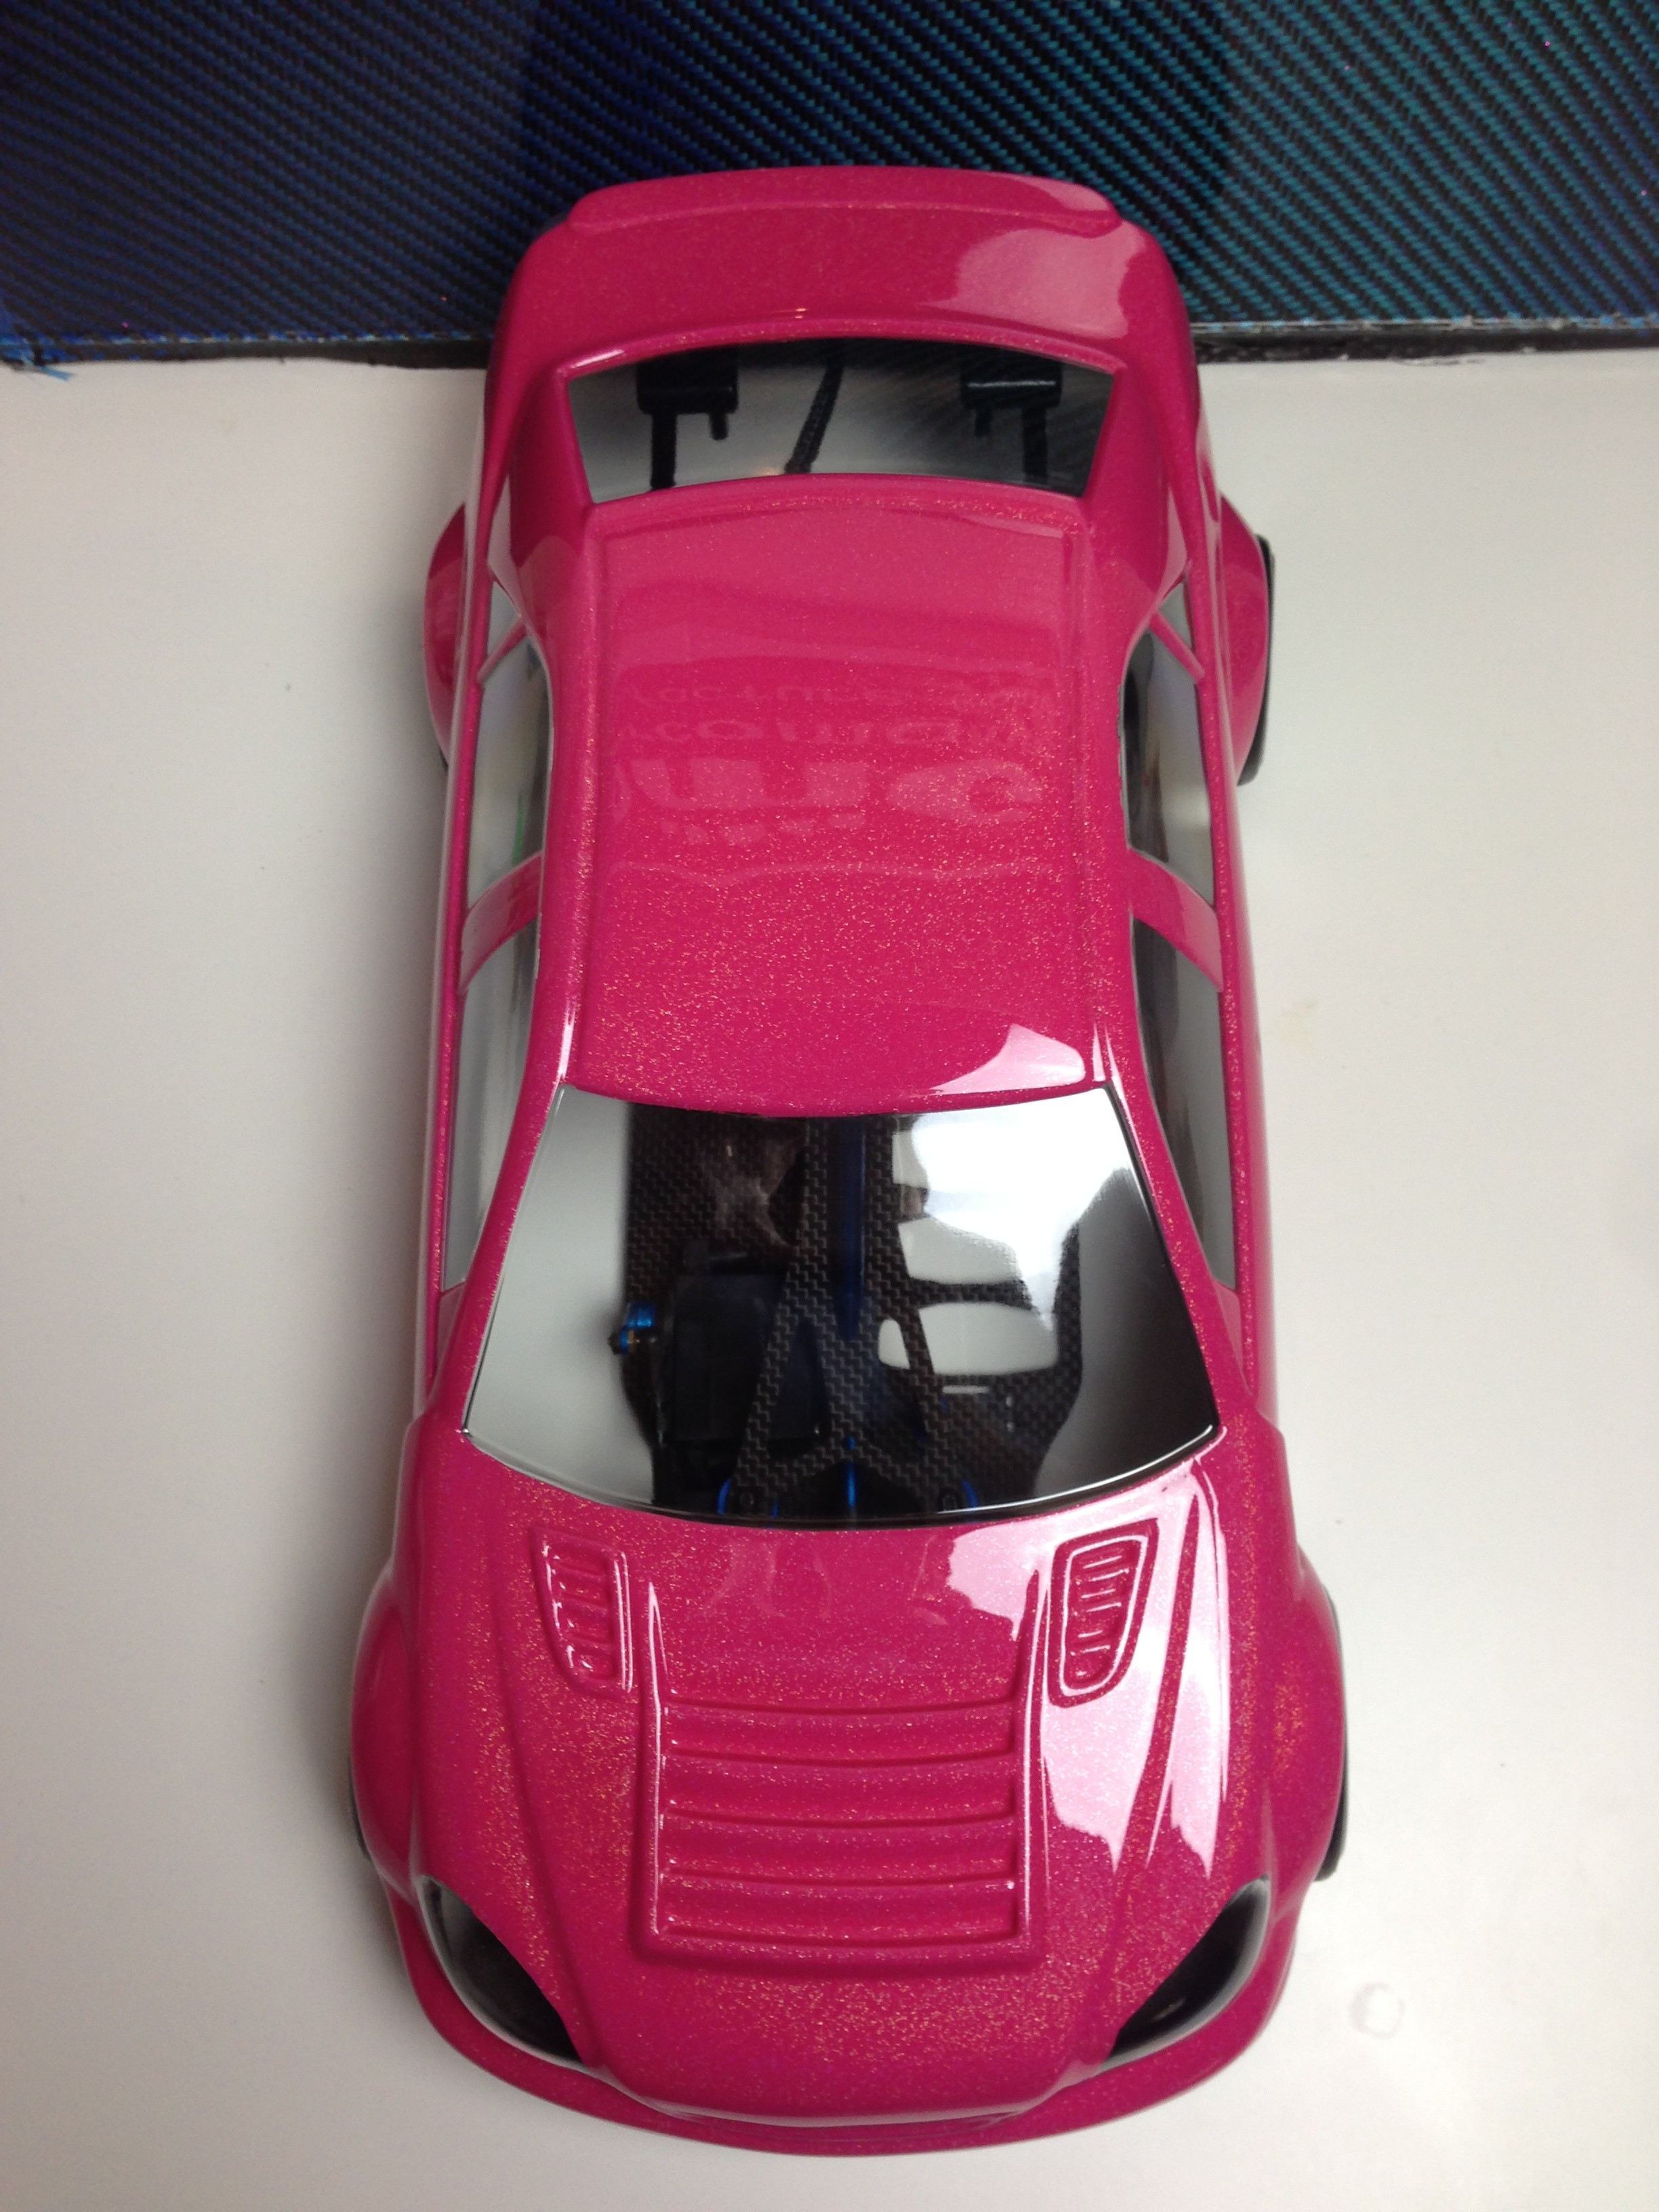
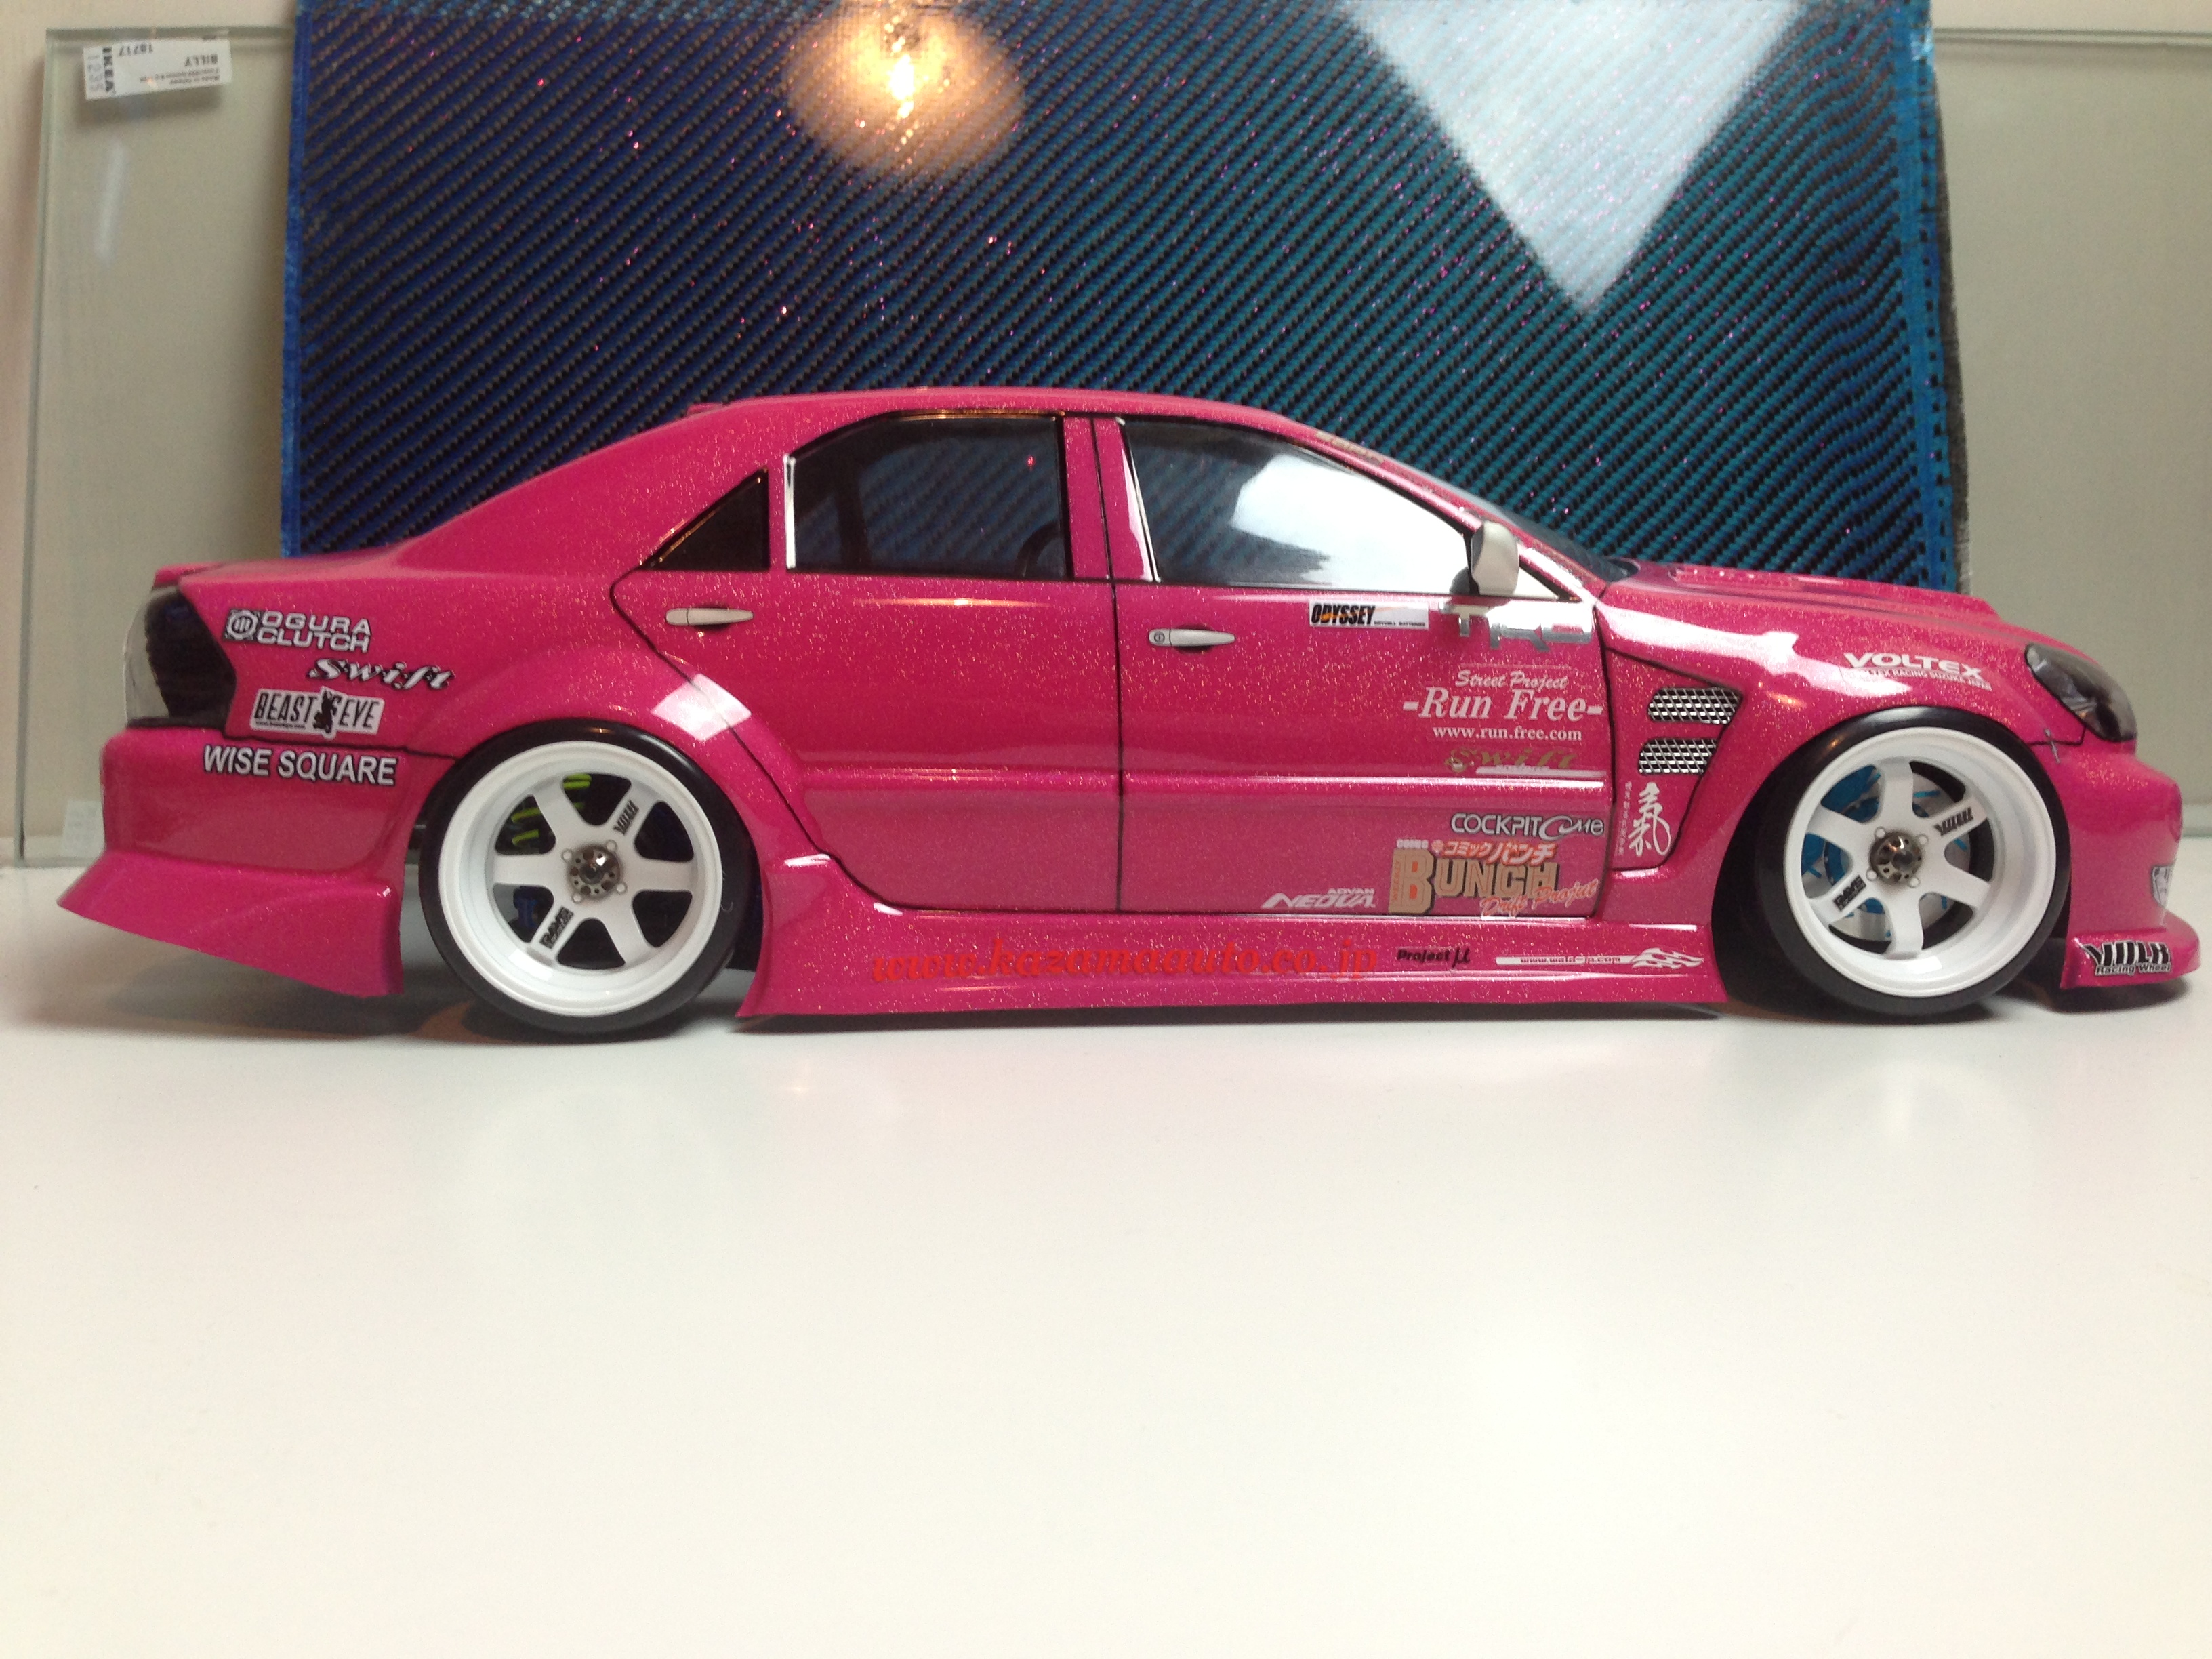
 After trimming, washing and masking the first step was to lay down several thick coats of Tamiya PS-53 Lame Flake which provides the rainbow glitter in the top coat which is a trademark of the Team Magician cars. Then many light coats of Tamiya PS-33 Cherry Red for the pink color and finally covering everything in Tamiya PS-5 Black. Then remove the overspray film and you get:


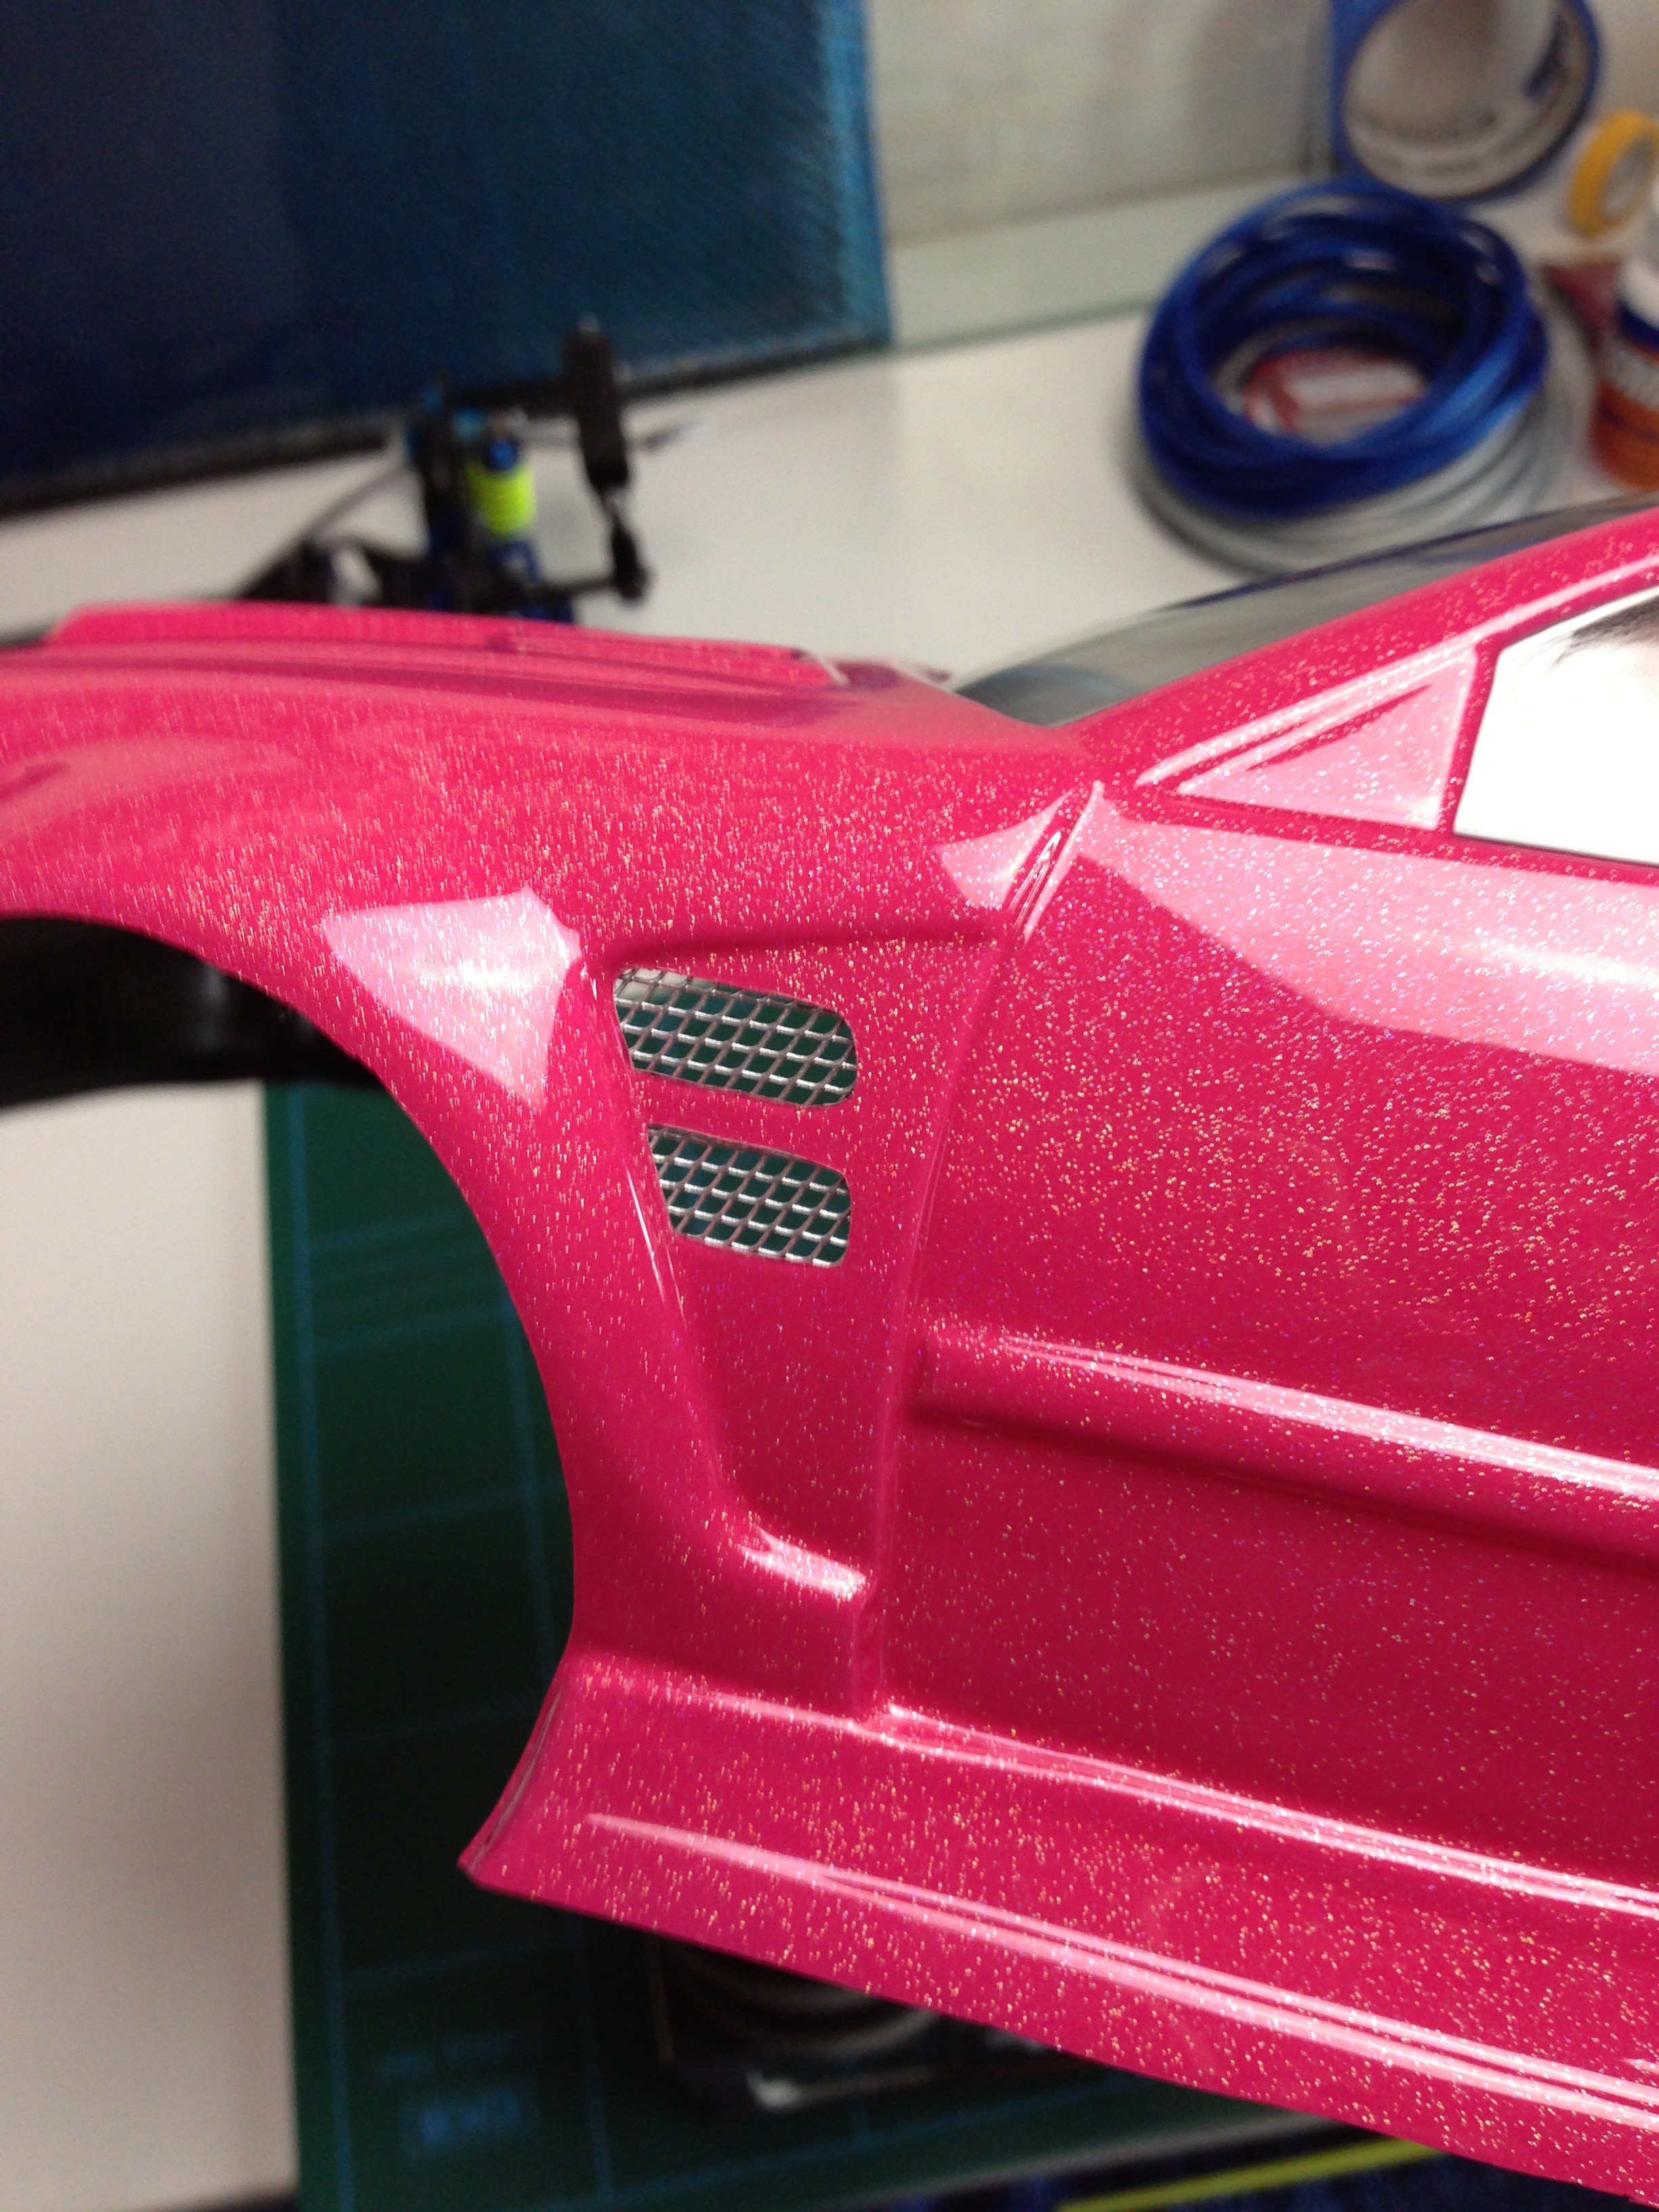
The body has stickers for side vents but I decided to cut them out and put in wire mesh behind.
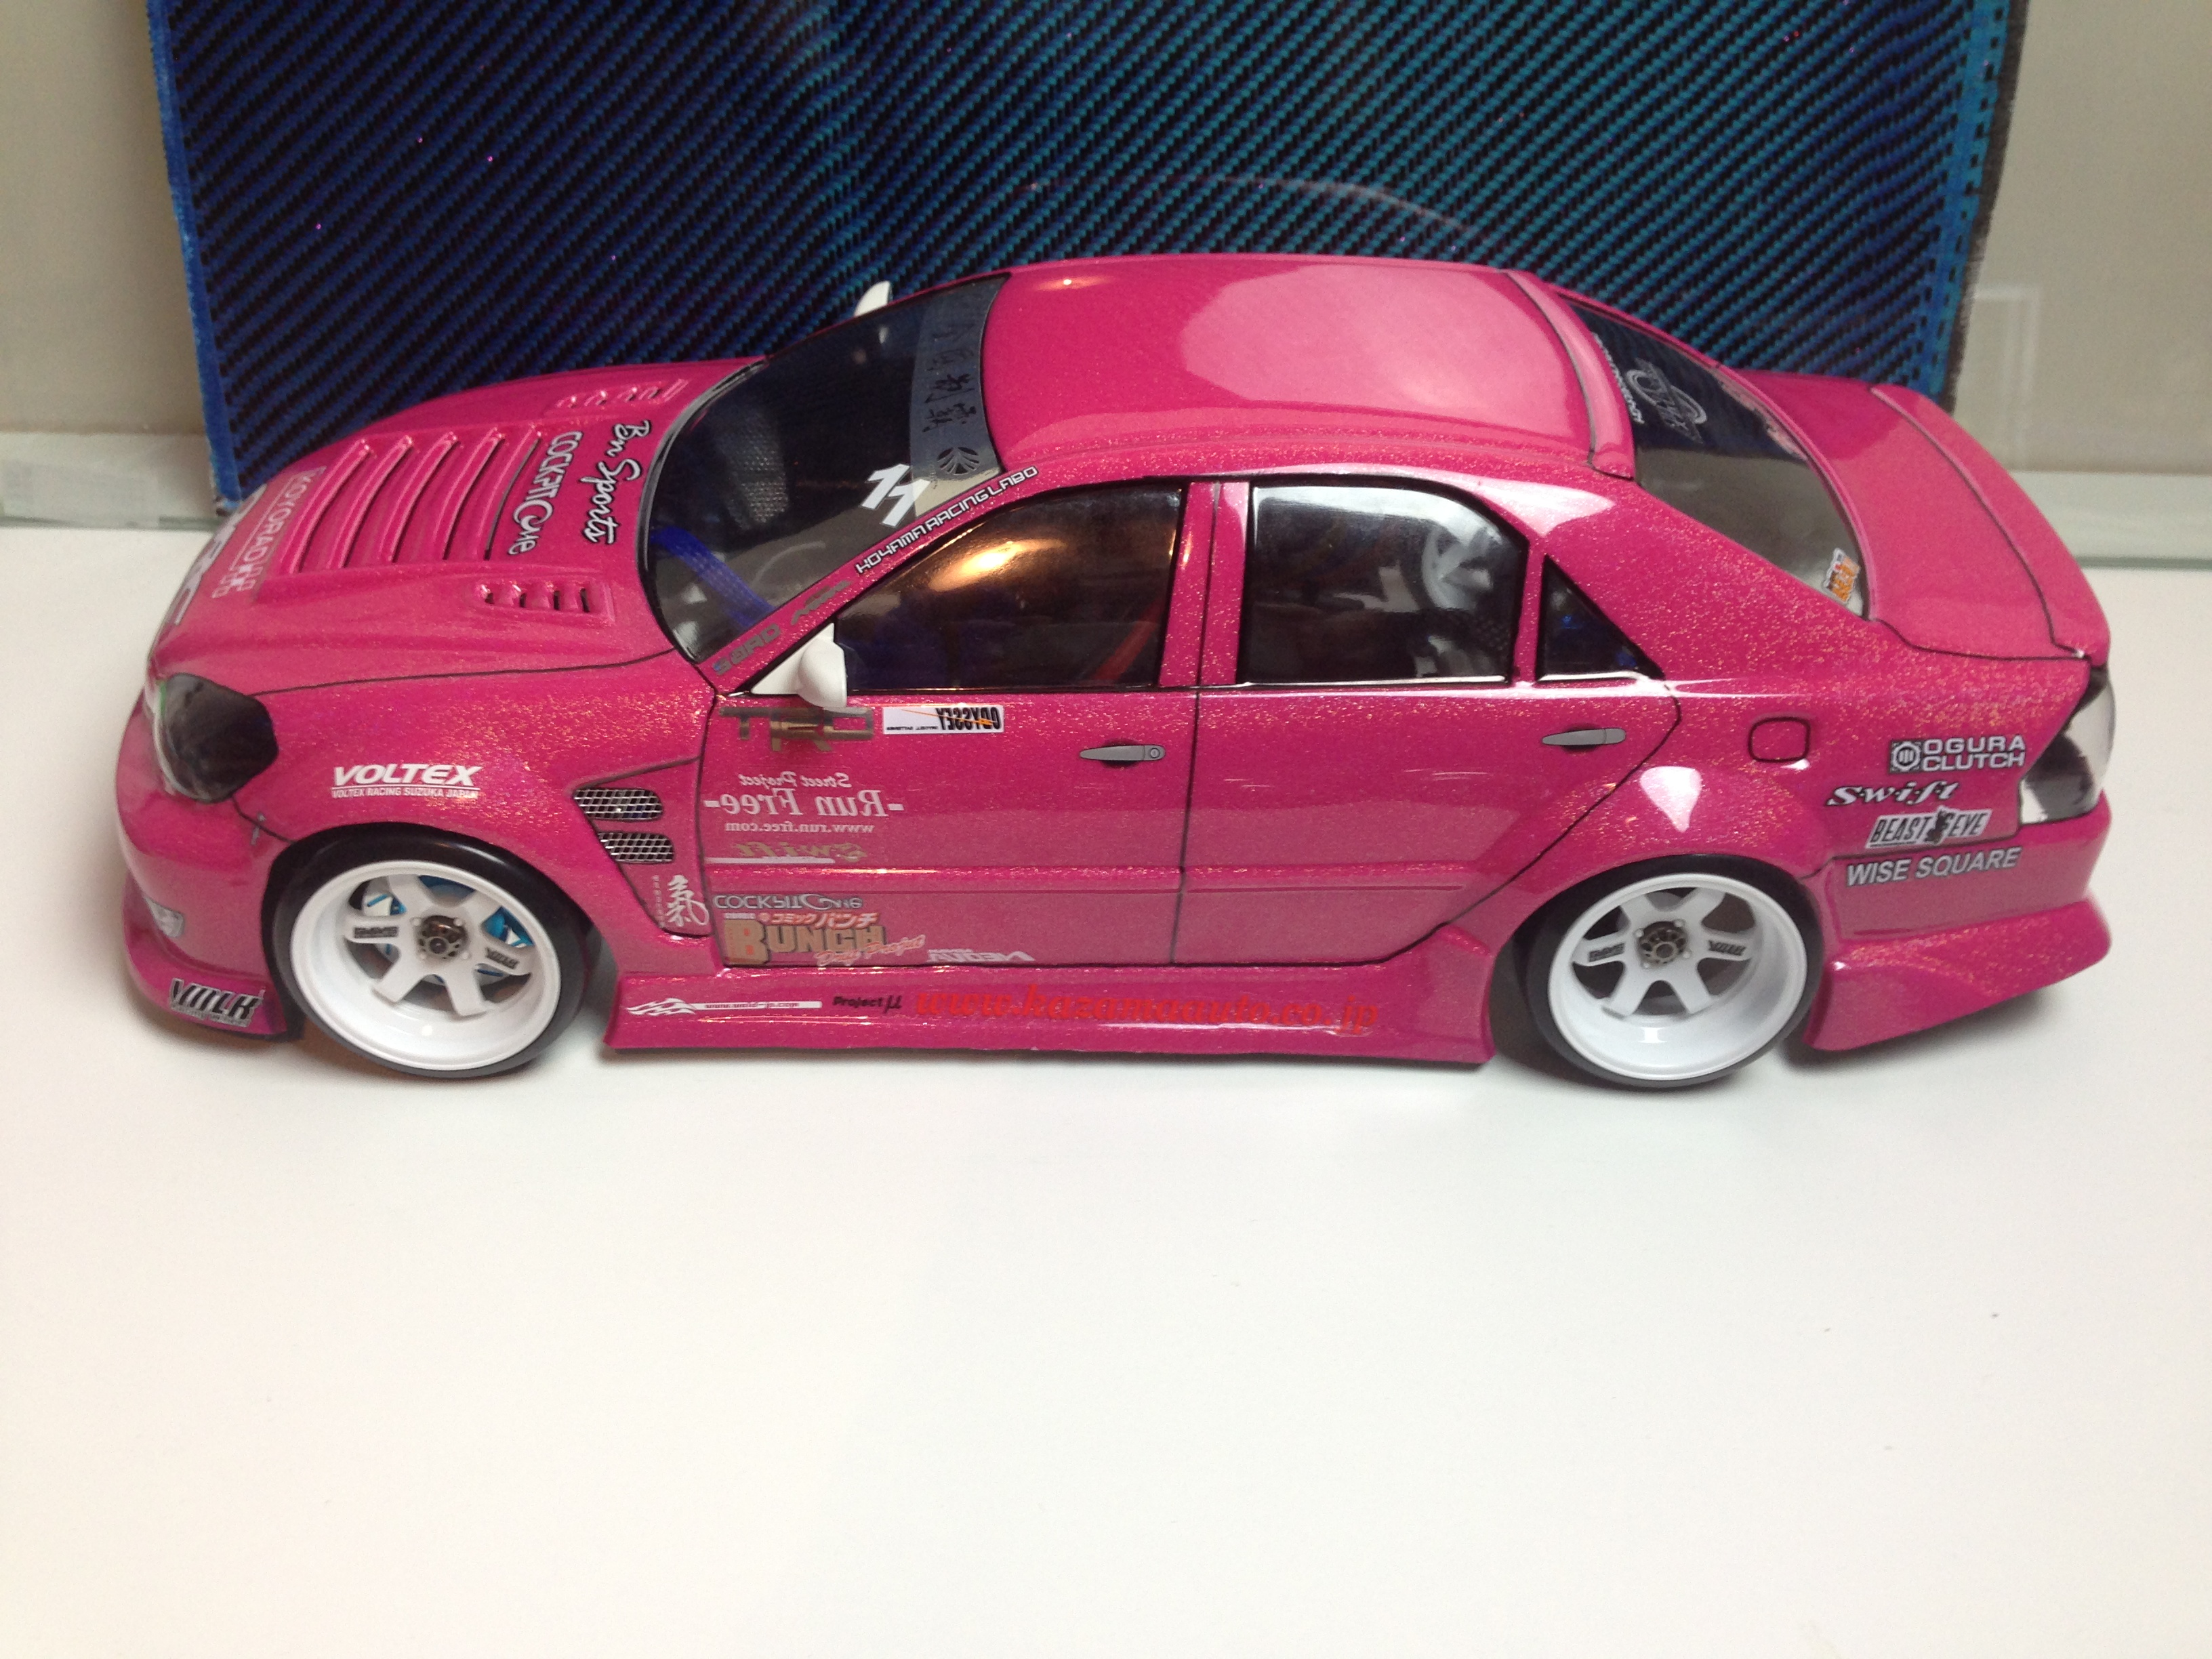
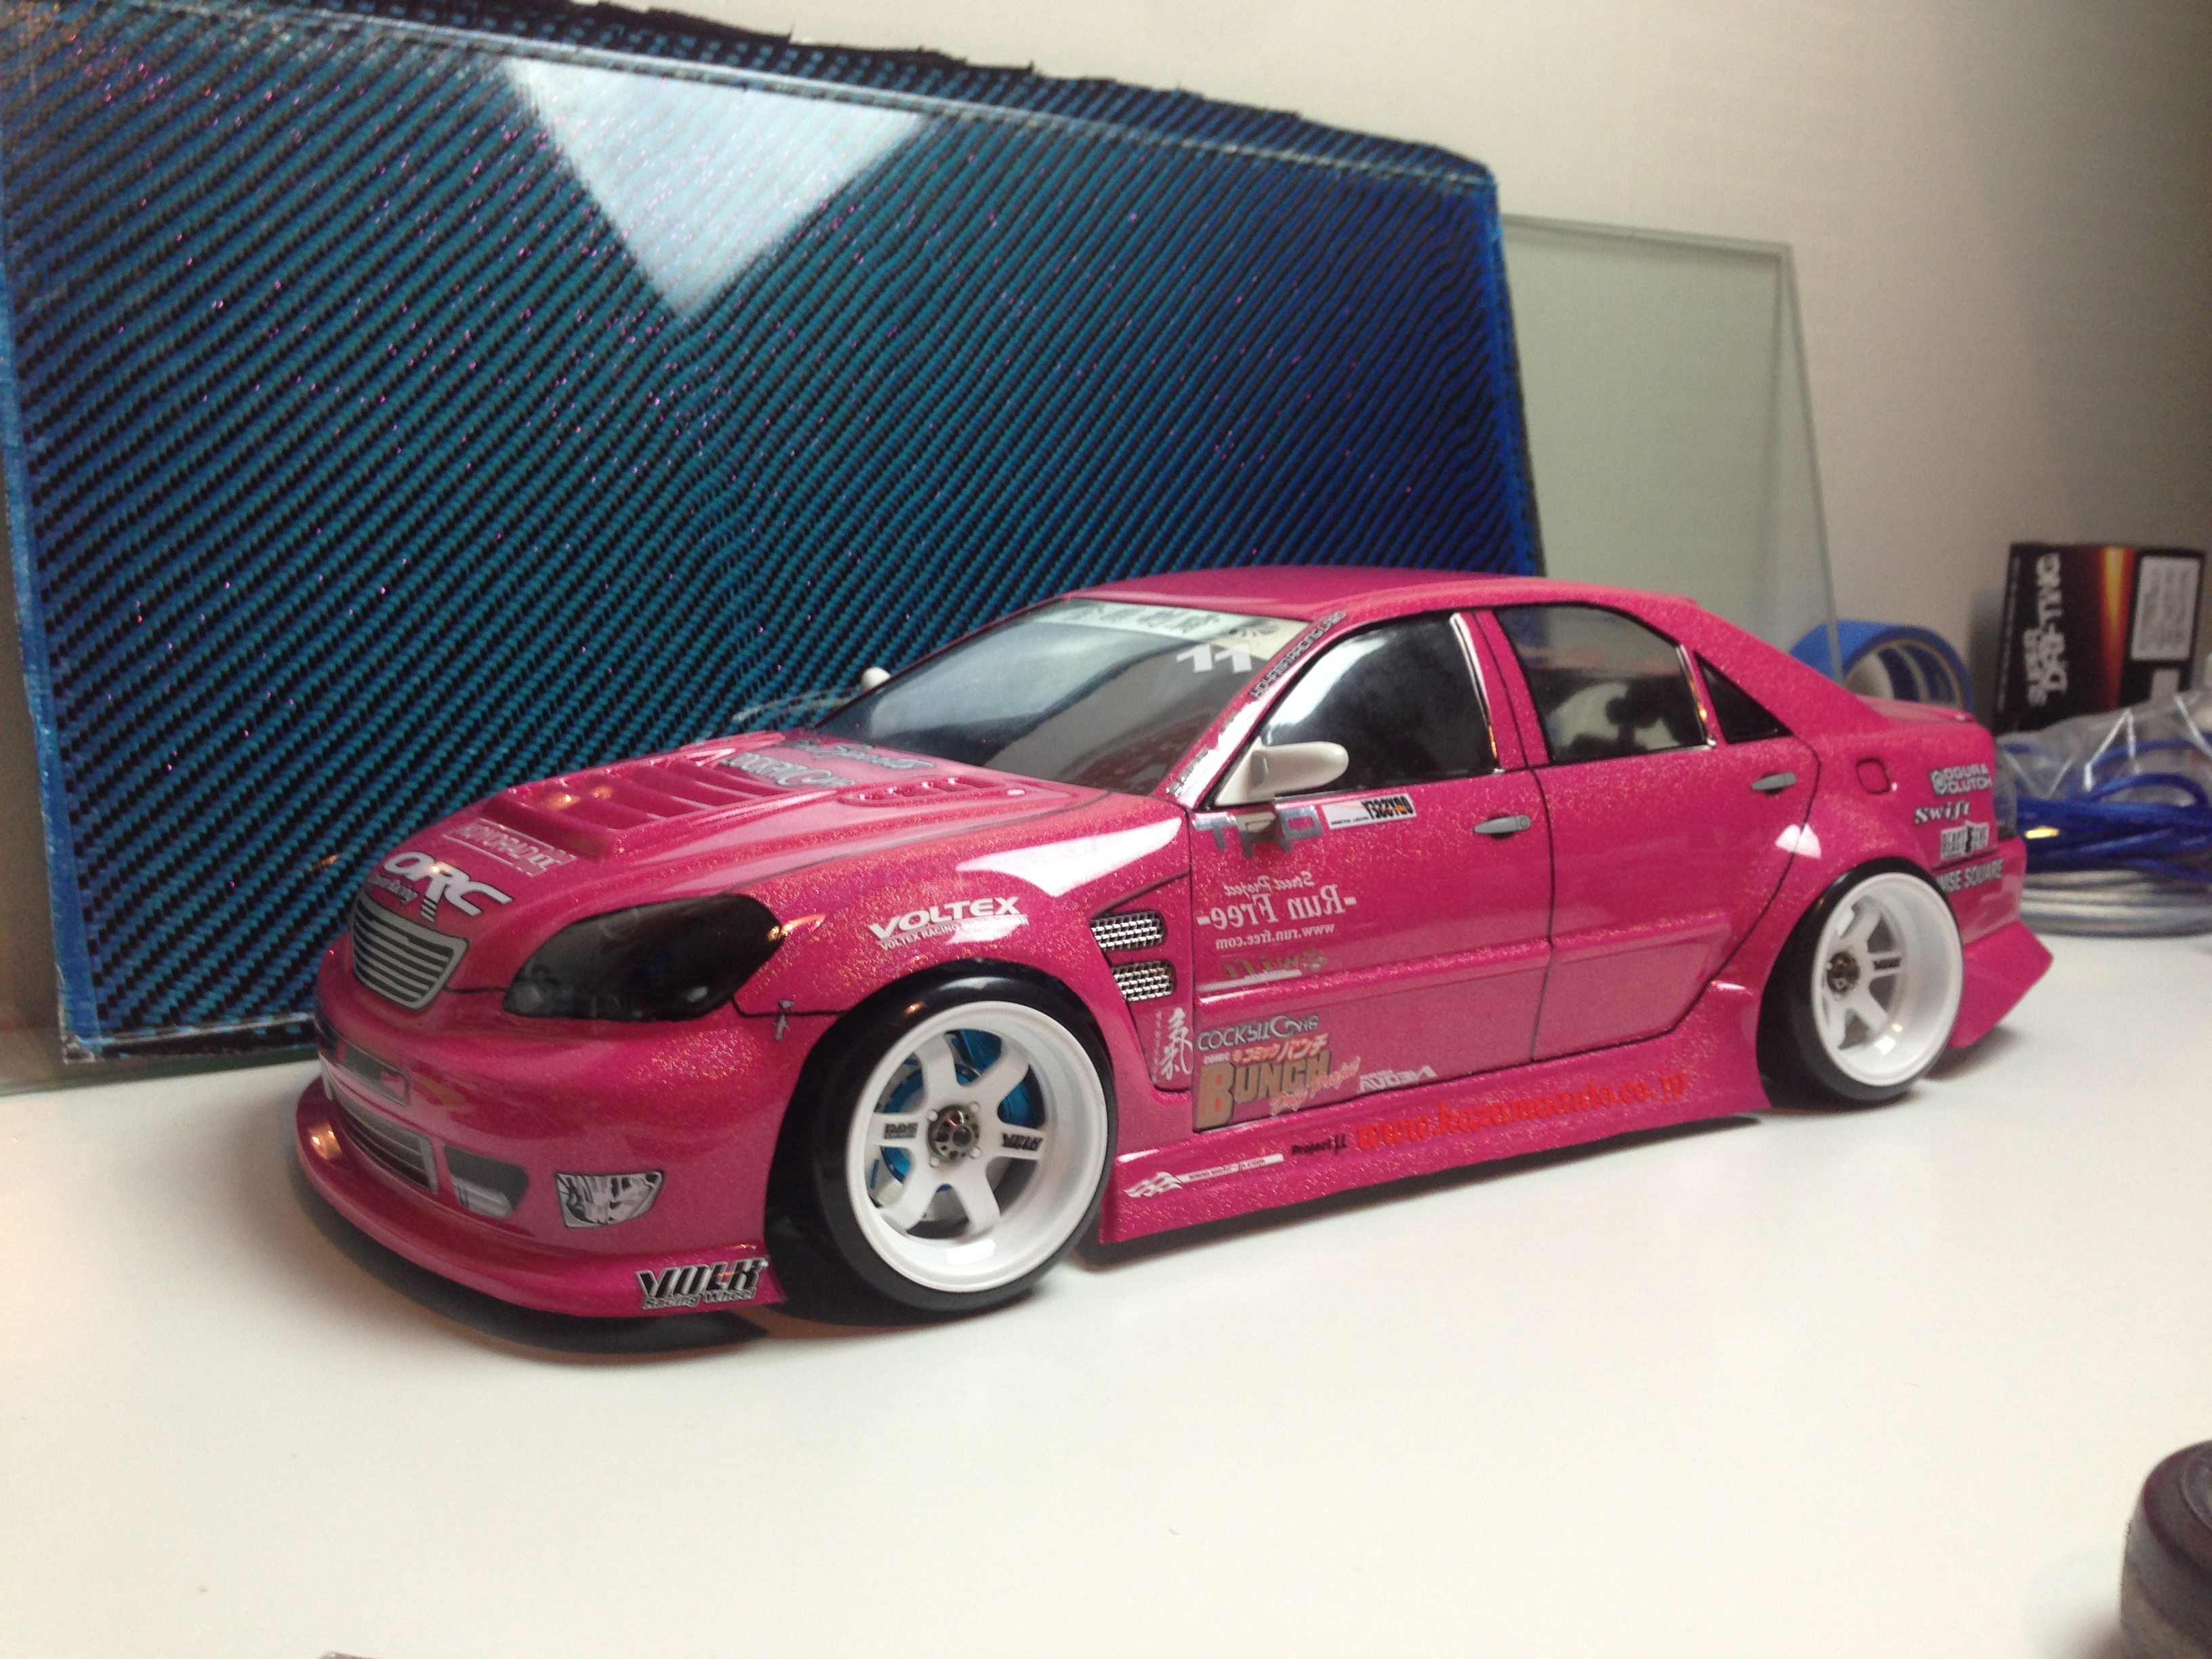
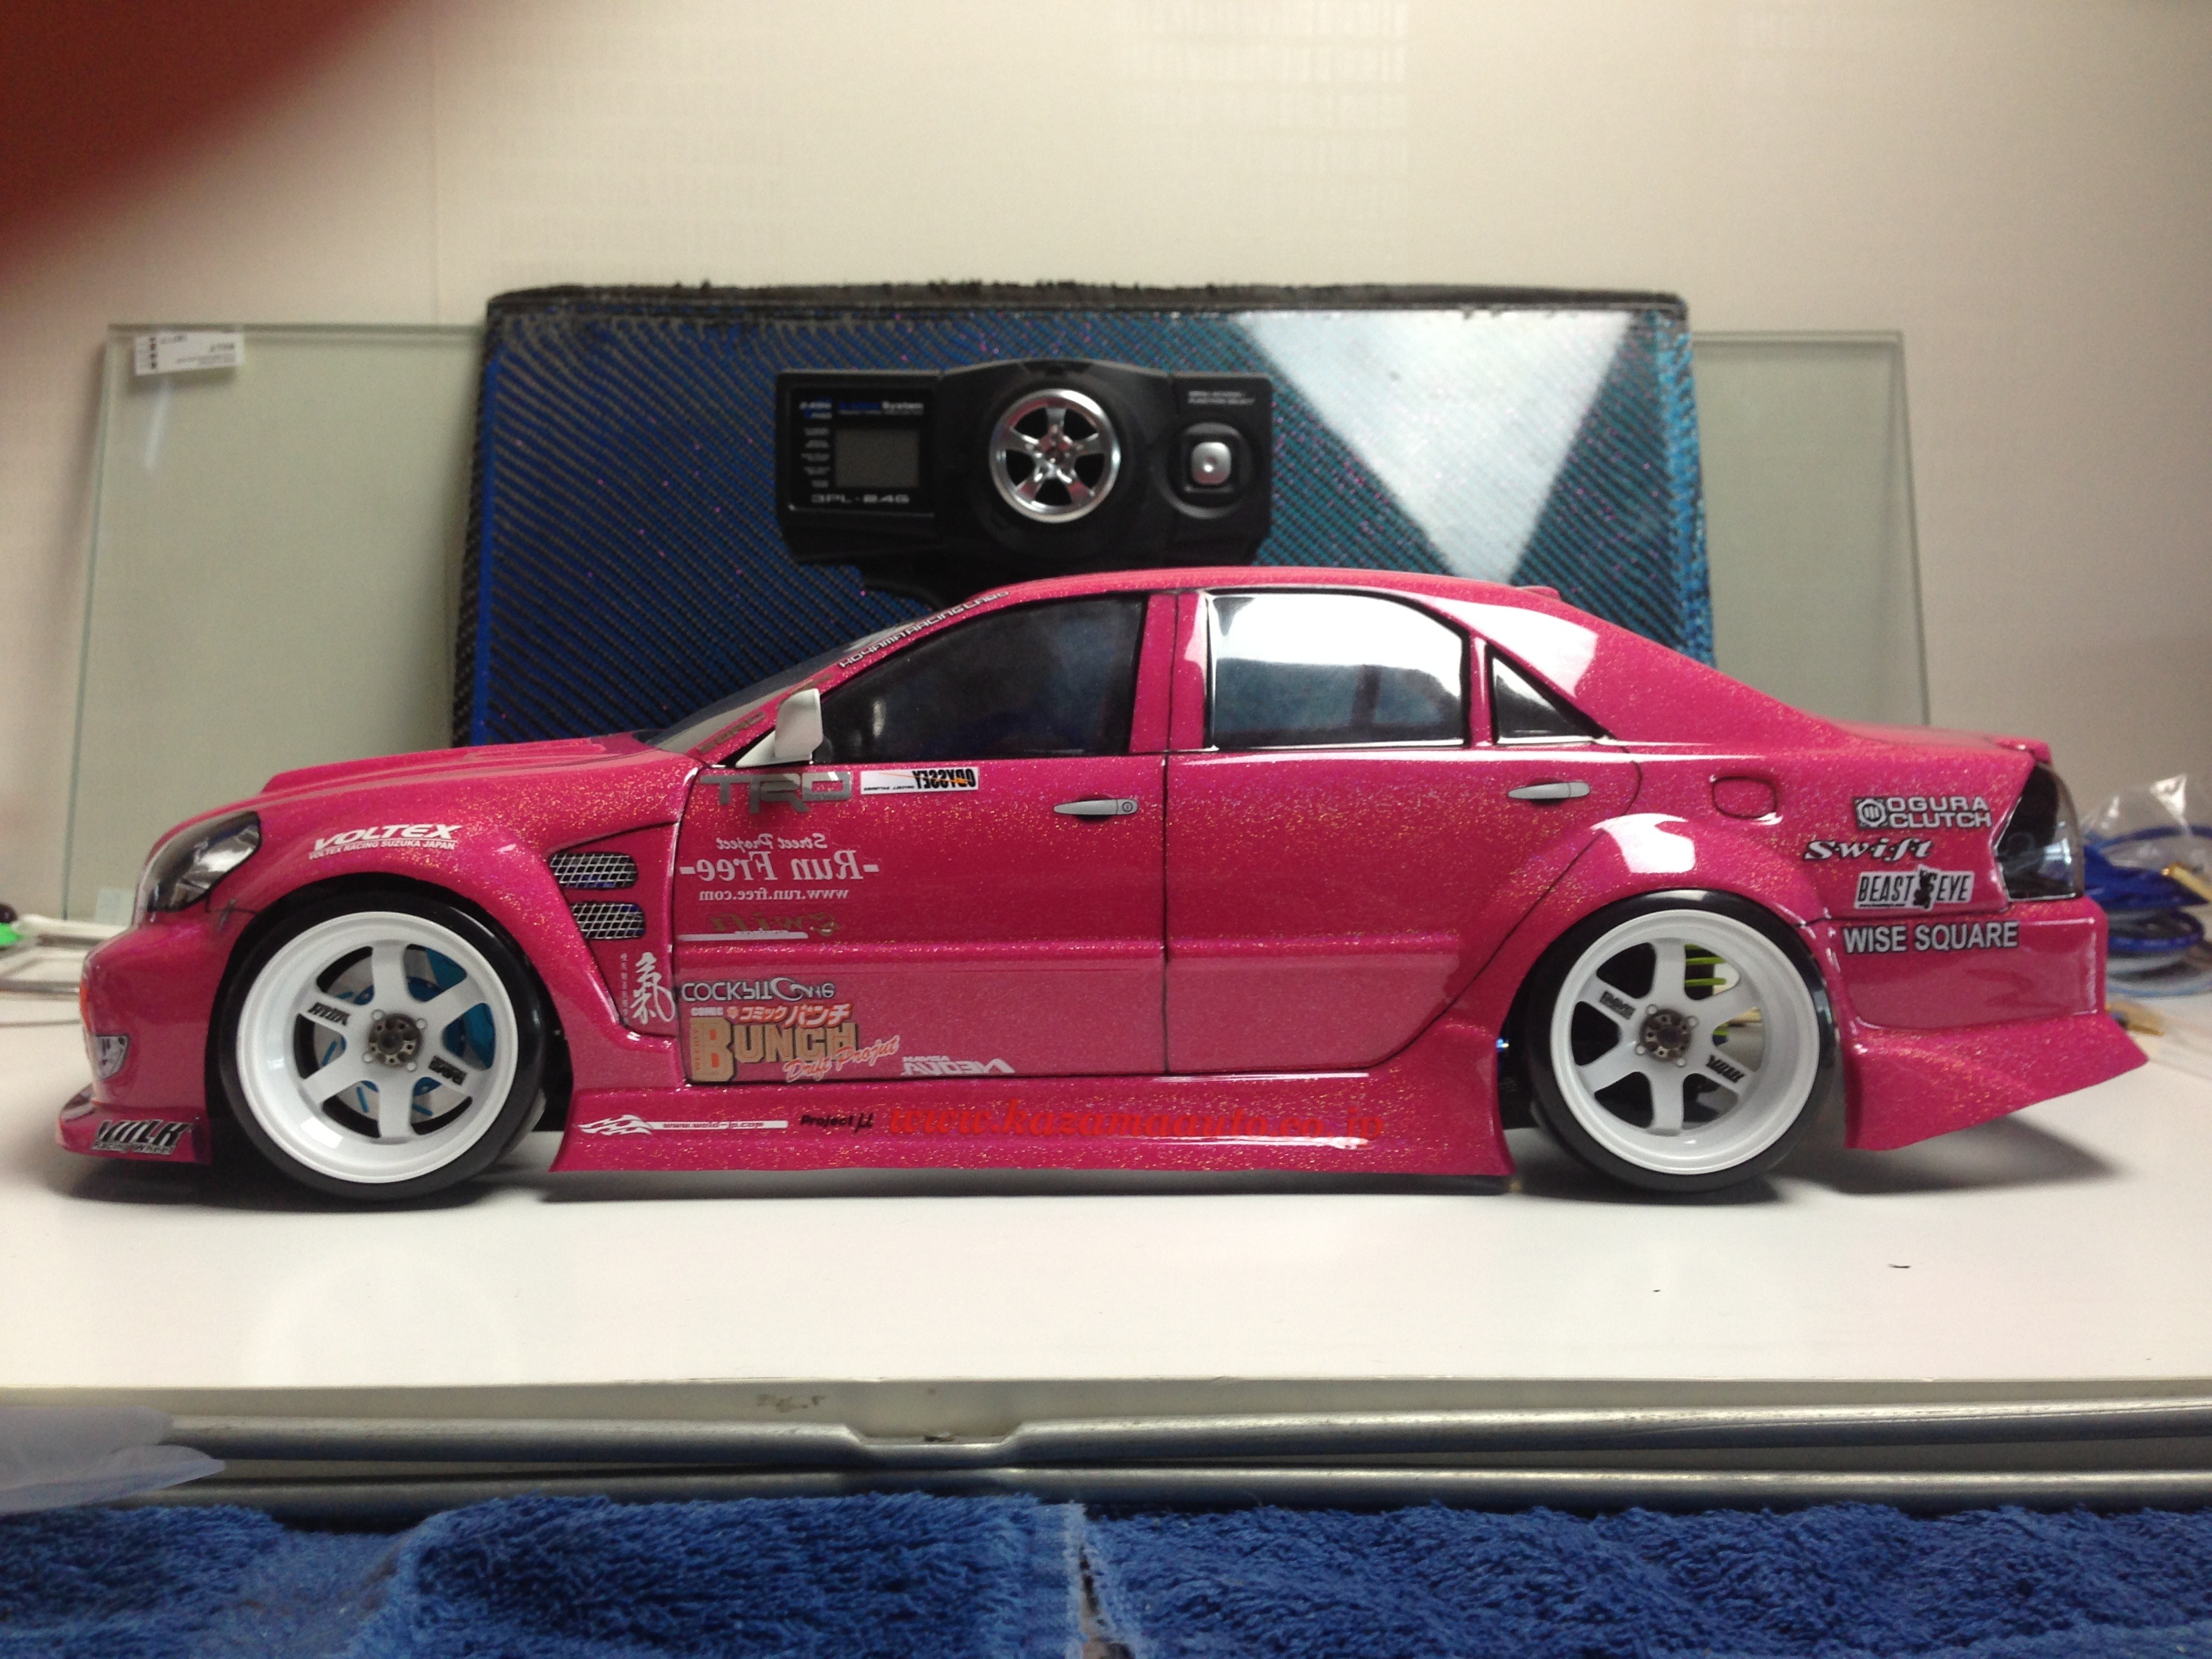
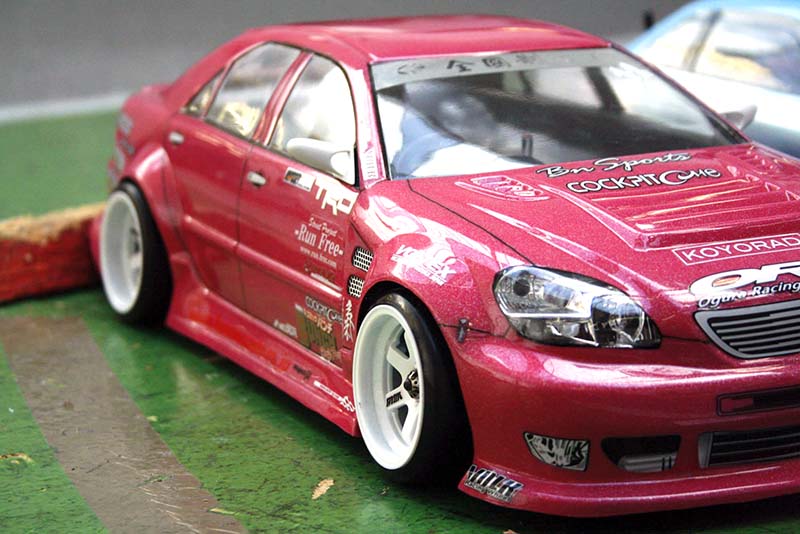
Finally here’s the final product as far as the body itself is concerned. I picked from two different sticker sets as well as my stock from old bodies to put together this combination.
For this body I decided to skip doing the window edges with the usual stickers. They just don’t look scale enough to me anymore. So I used a marker to mark them out to the size that I thought that they looked like as best I could. For the body lines in these pics were done with a 0.5mm marker but I later decided that they looked too thick so i took them off using acetone and used a 0.35mm marker that I had instead. It’s not quite done in these pics, but it’s close.
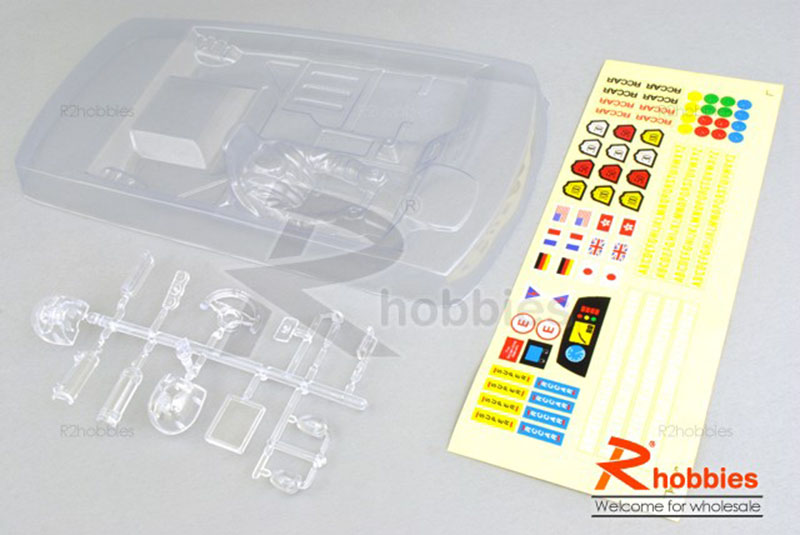
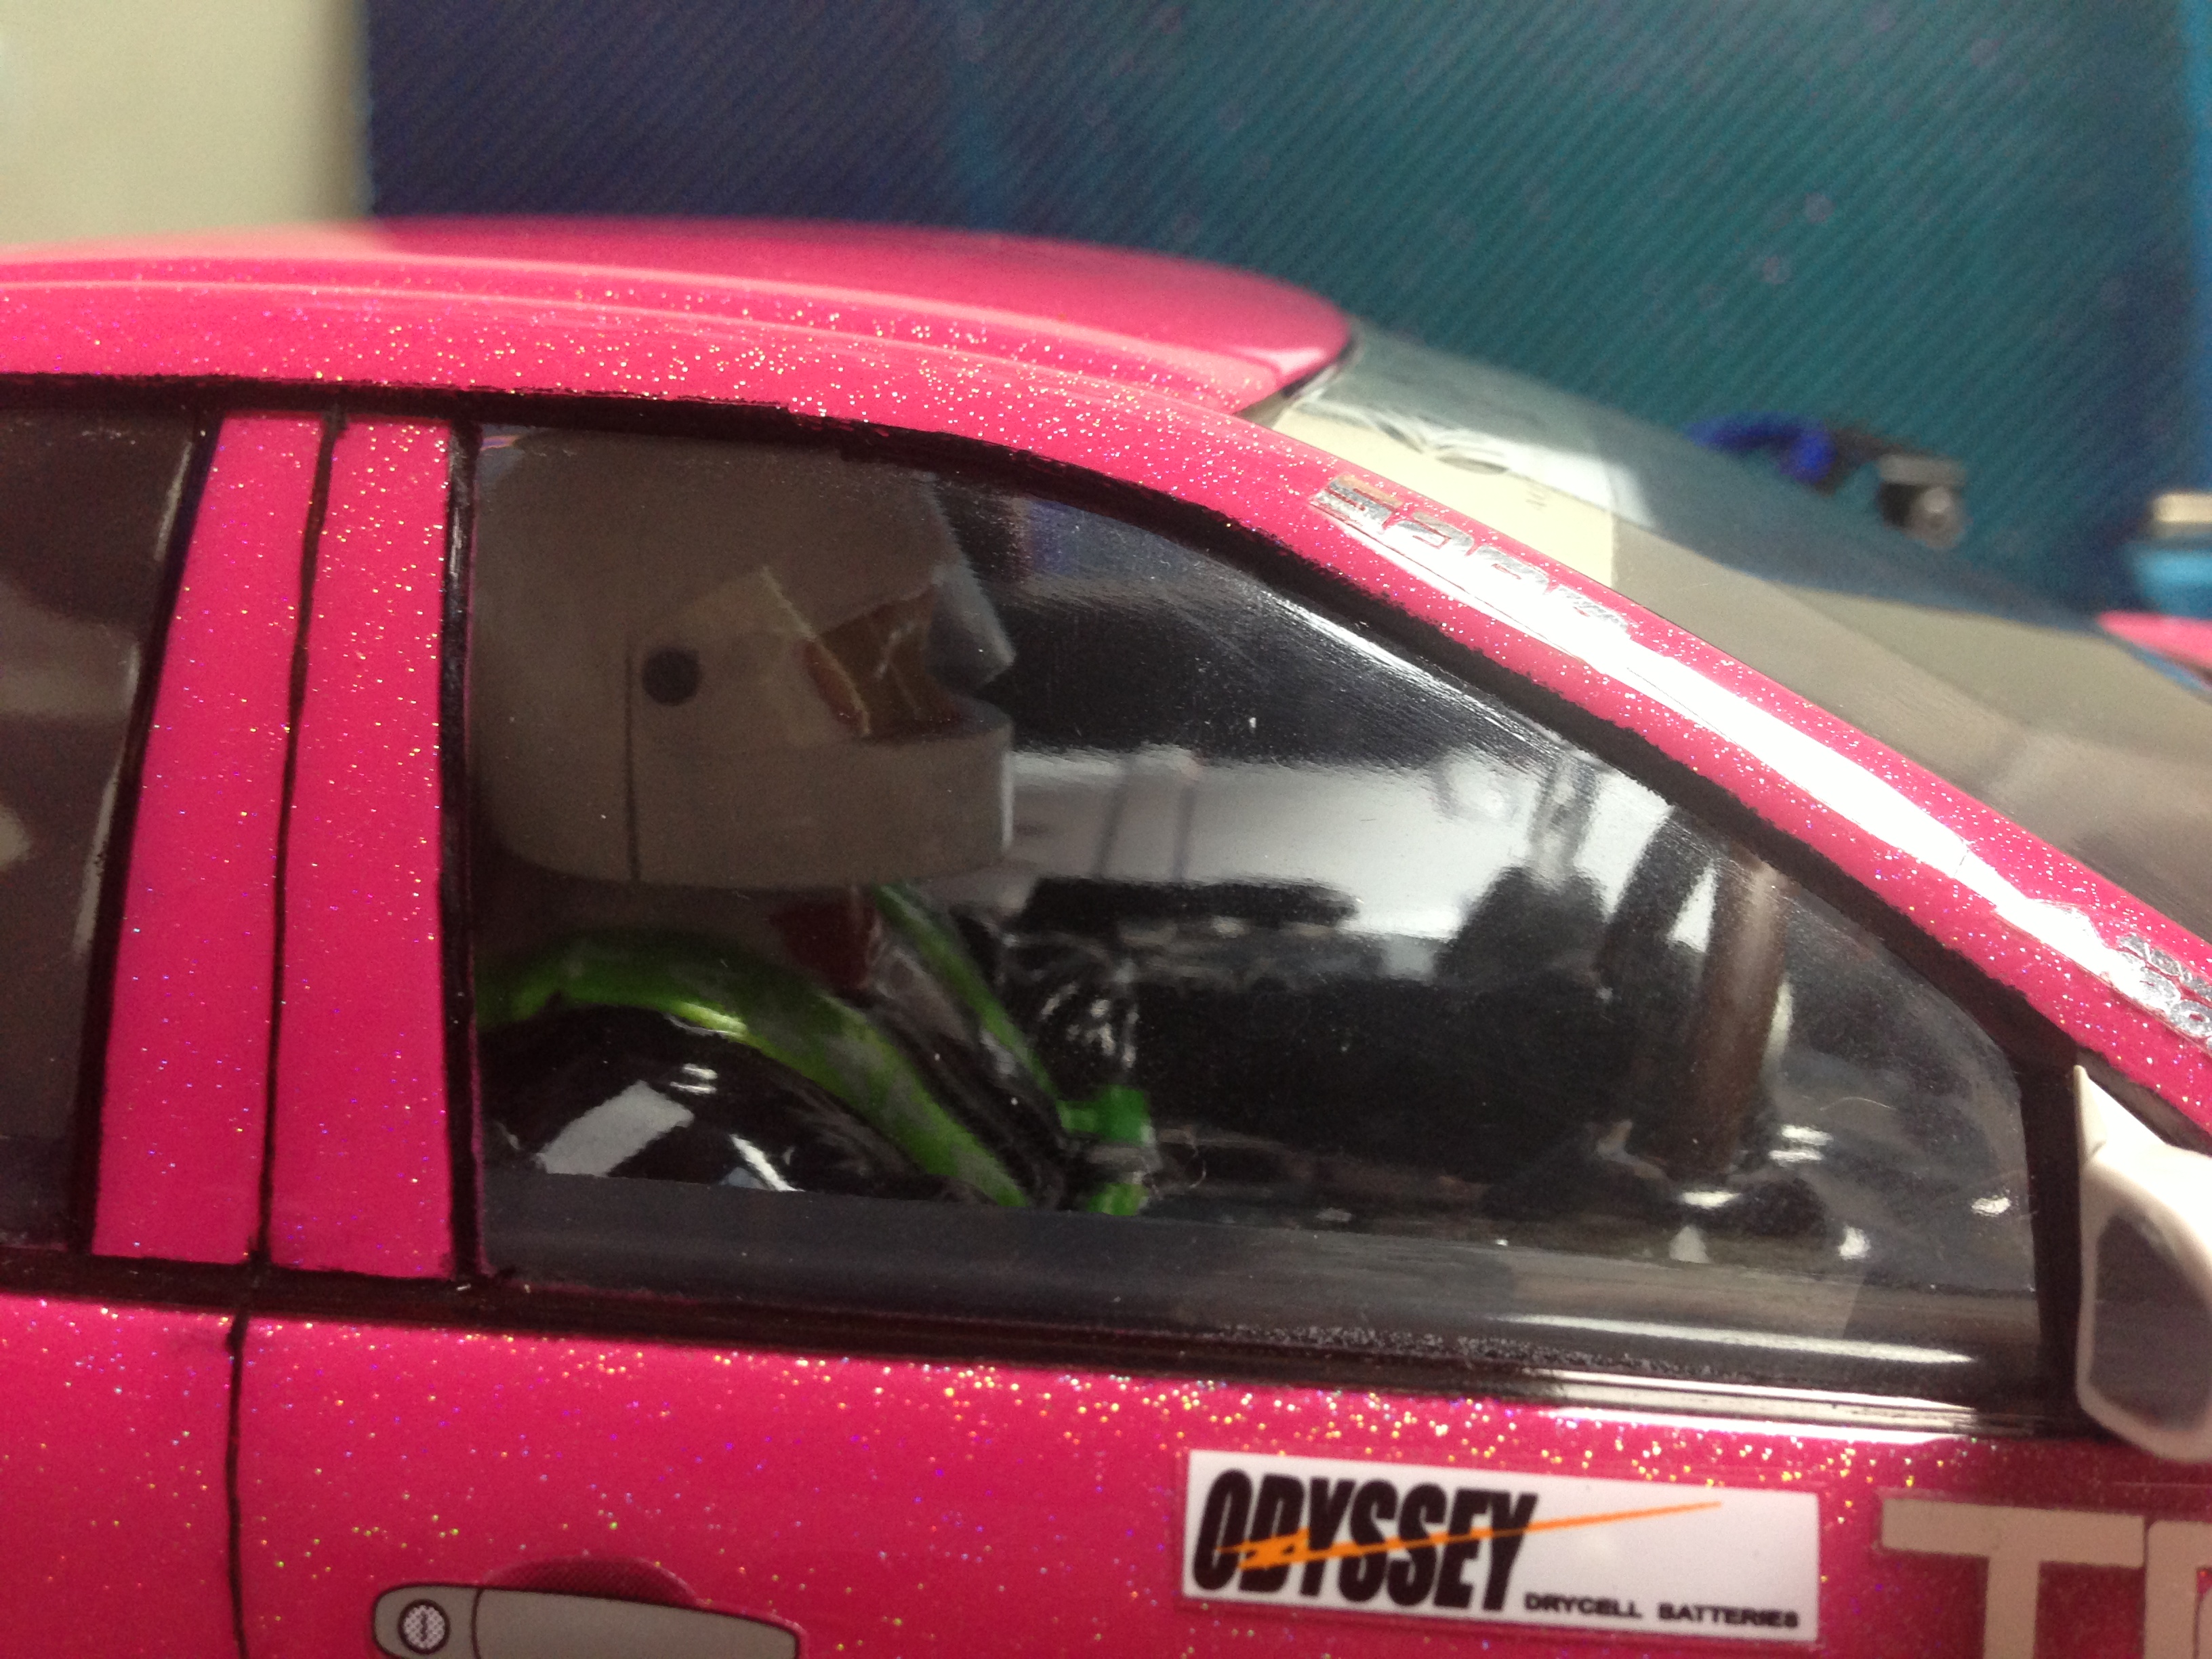
A long time ago I ordered an interior set with driver from R2 Hobbies. It’s not great quality but it was so cheap at the time that I couldn’t pass ordering it up. It sat in a box for a while until I found it while rummaging around looking for stickers to use with the Team Magician JZX110 and I thought…why not?
I don’t have many pictures of the building process. Here’s the picture from R2 Hobbies of the kit. It comes with a lexan base and clear plastic driver head, steering wheel, shifter, handbrake, fire extinguisher and a few other small pieces.
I had ordered new batteries for the Halmstad meet and at the same time I ordered a new servo for my son’s Losi Micro crawler as his was glitching. As his servo worked but not well enough to turn the crawler wheels reliably I thought why not put it in the interior to turn the drivers head?
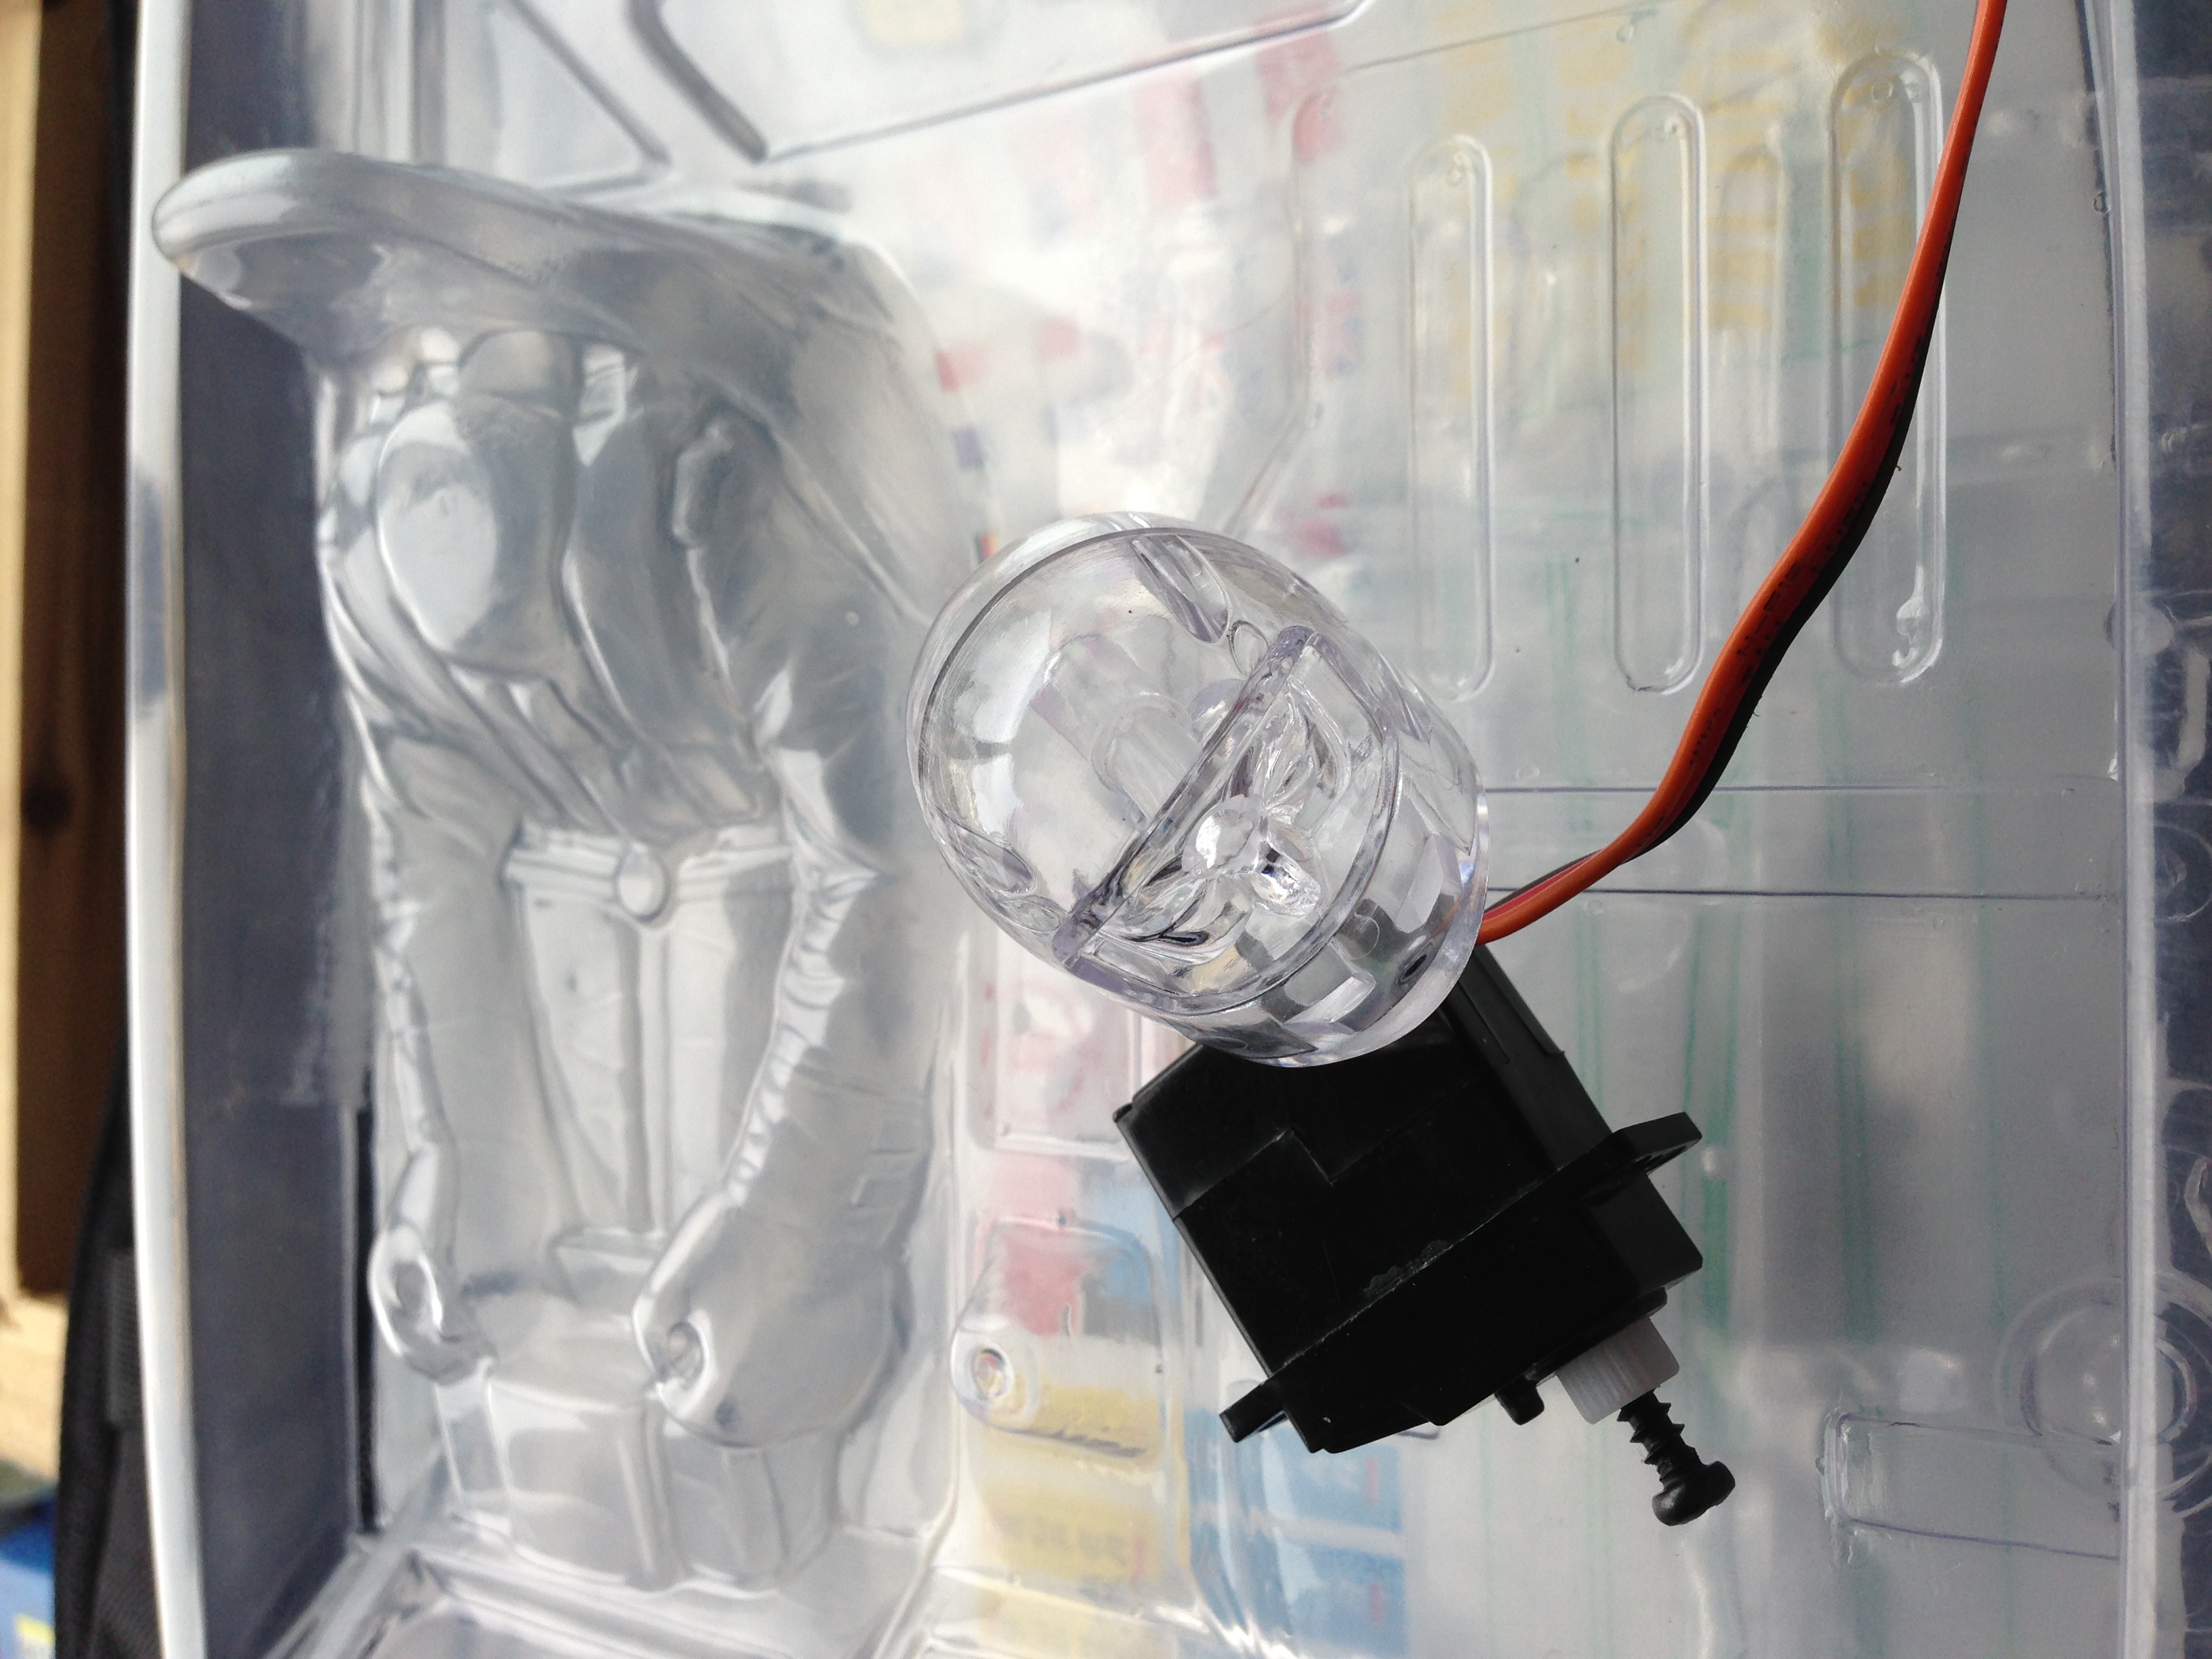
To mount the head/helmet to the servo there is a pocket like shape inside the driver’s chin. The head splits vertically roughly at the ears. So I narrowed down a servo horn until I could slot it into that pocket. It’s just a press fit at this point in case a replacement servo has a different spline. I then had to increase the size of the hole where his neck would go into the helmet so it would fit around the round part of the servo horn so it could stick out. The driver’s body is part of the lexan base so I made a hole in his neck stump big enough for the servo horn to go through, stuck it on to the servo and glued the servo in place in the lexan body from the bottom and glued in some foam supports at the same time. Obviously this was done after painting the whole thing.
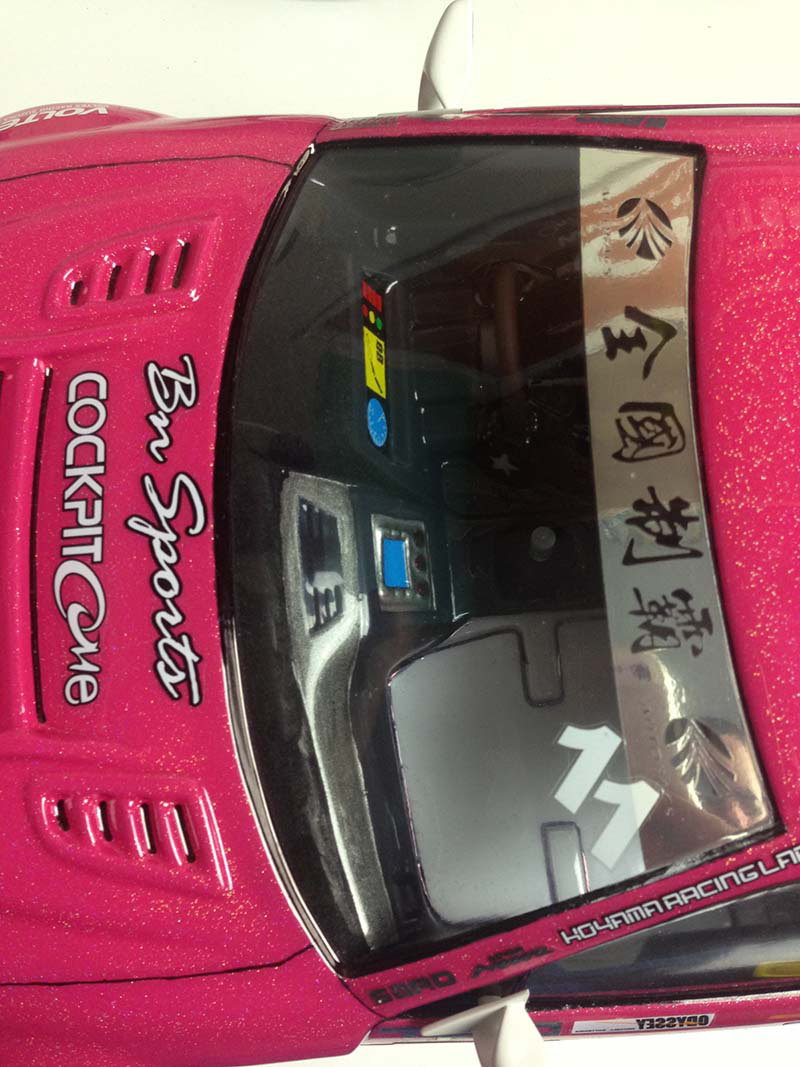
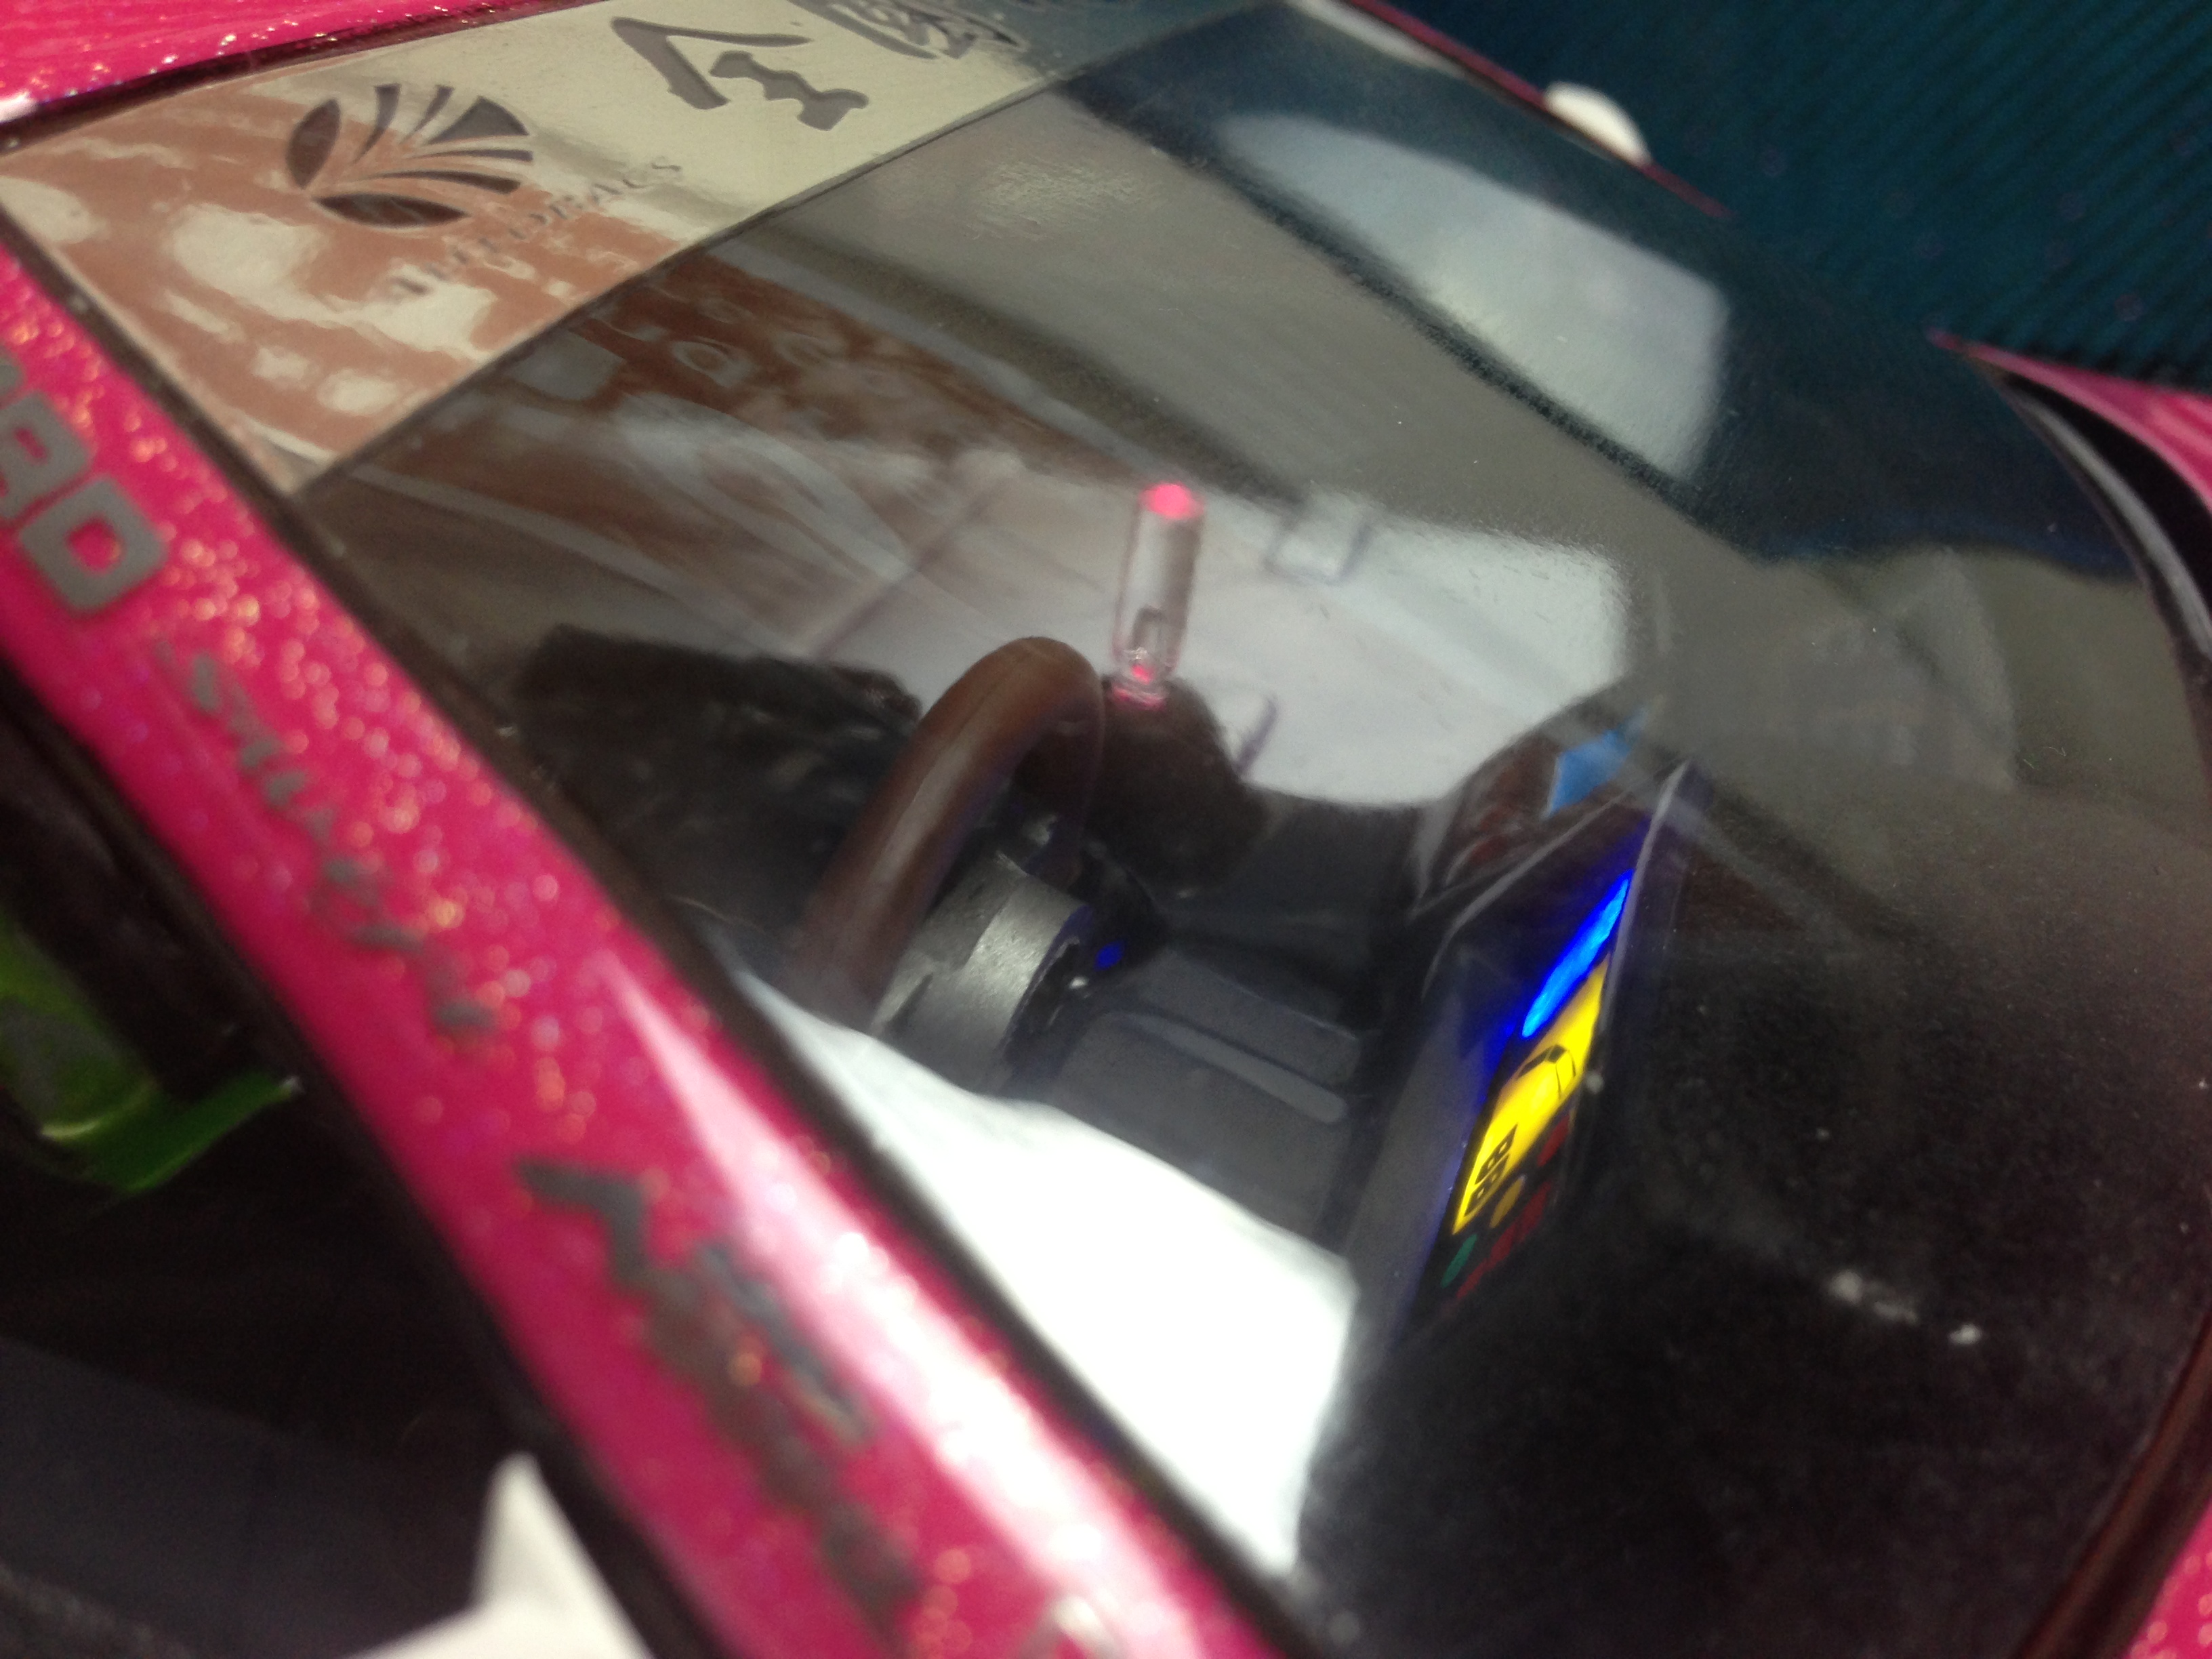
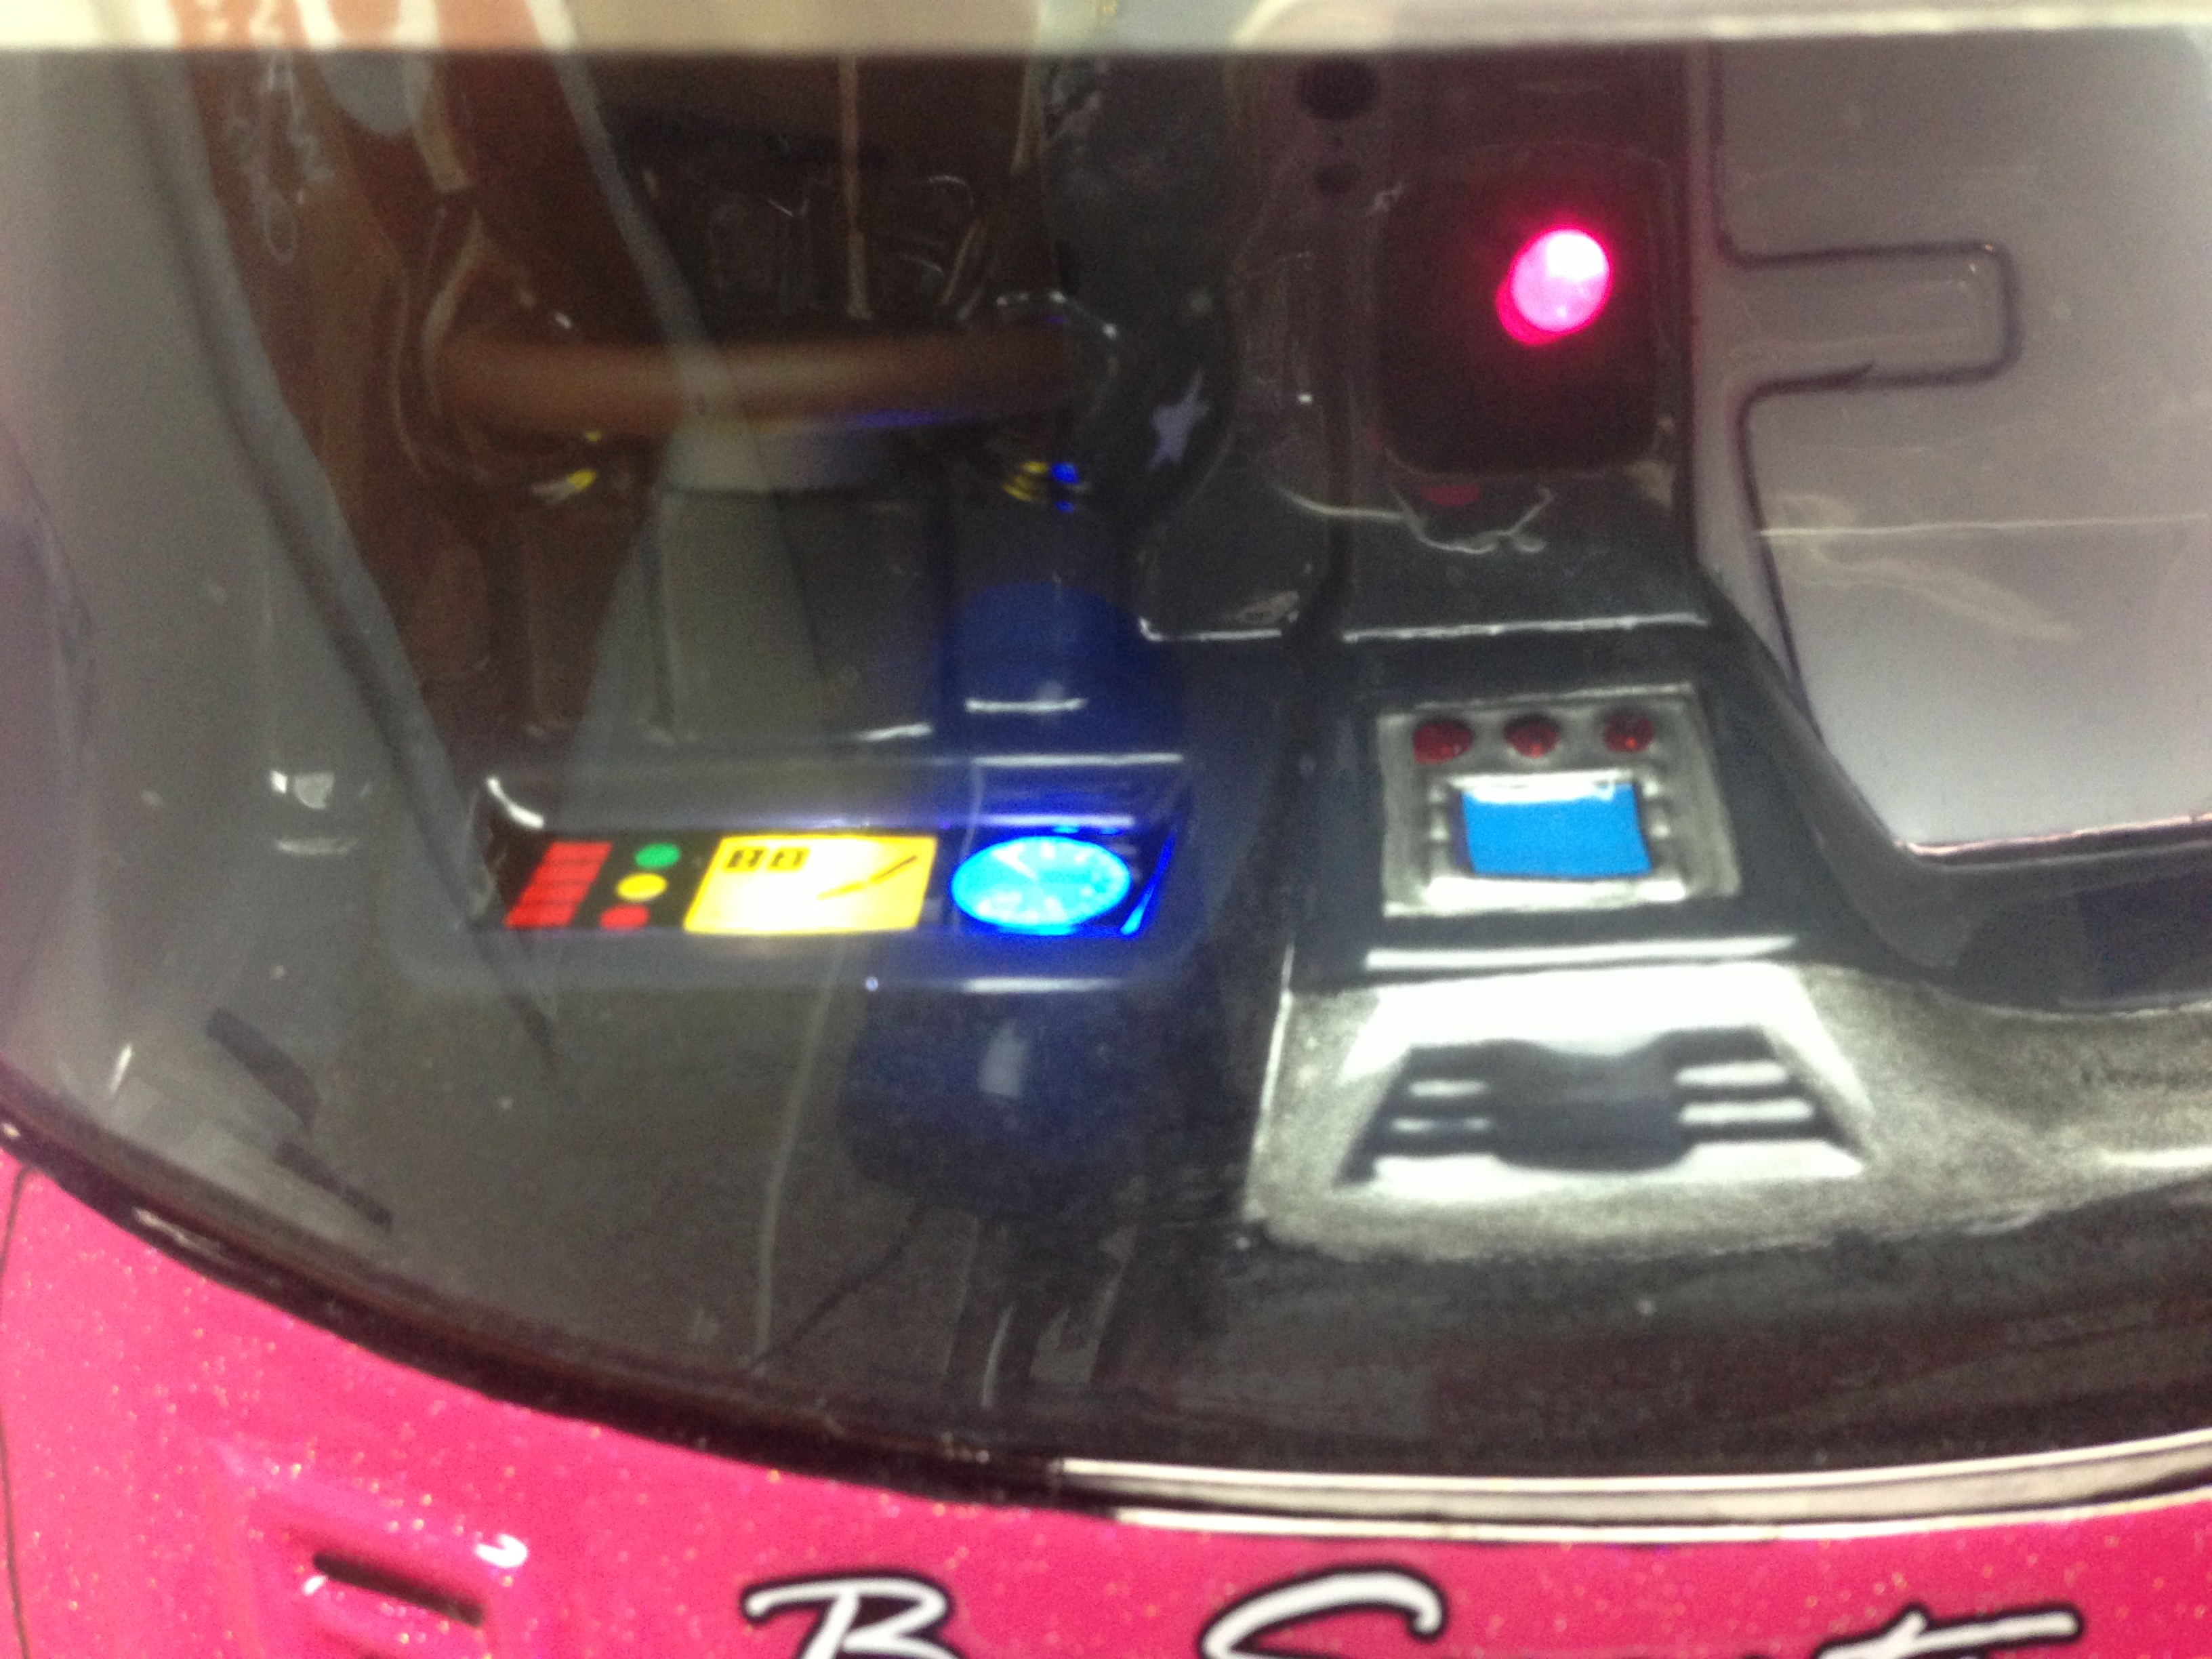
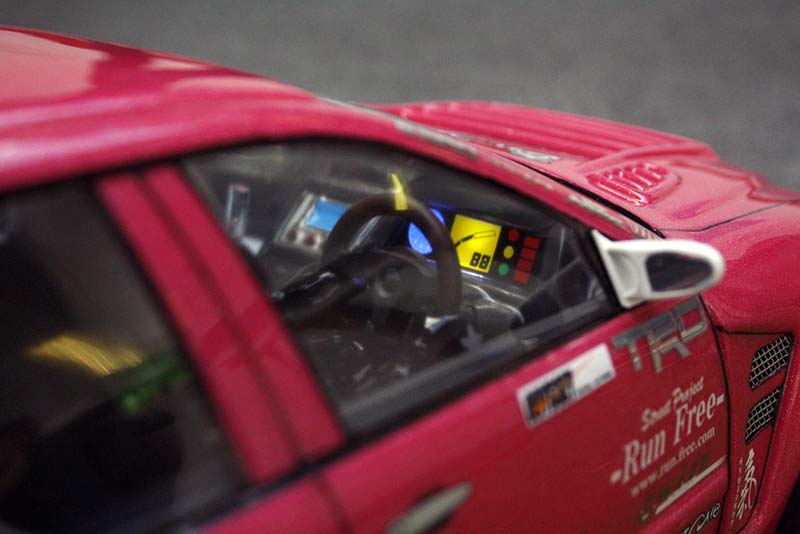
While I did paint the head/helmet and the lexan parts, I didn’t paint the area where the radio bezel is or the gauges are so that I could light them up from behind. I also didn’t paint the shifter as I wanted to light that too. The gauges are one yellow and one blue so I used a white LED and blue LED to light that area, I used a blue LED to light up the blue radio bezel and a pink LED to light the shift knob. The shift knob has a defect in it which is a small bubble in the clear plastic. This is what gave me the idea to light it up as it reminded me of the infamous Japanese “bubble” shifters. I chose pink to light it because that is one of the classic colors for the bubble shifters and it is the body color.
I took a bit of a shortcut when it came to mounting the lights for the interior. I grabbed some pink house insulation foam and carved it to shape so that it would fit inside the recesses of the lexan interior. I used pink house insulation foam because it can be carved, is heat resistant, light and wouldn’t let the light bleed between the LEDs that are close together like on the dash. I just glued it in place and “drilled” holes in it for the LEDs to sit in. The holes are just a tiny bit smaller than the 5mm LEDs so there wasn’t a need to glue them in place in case they fail.
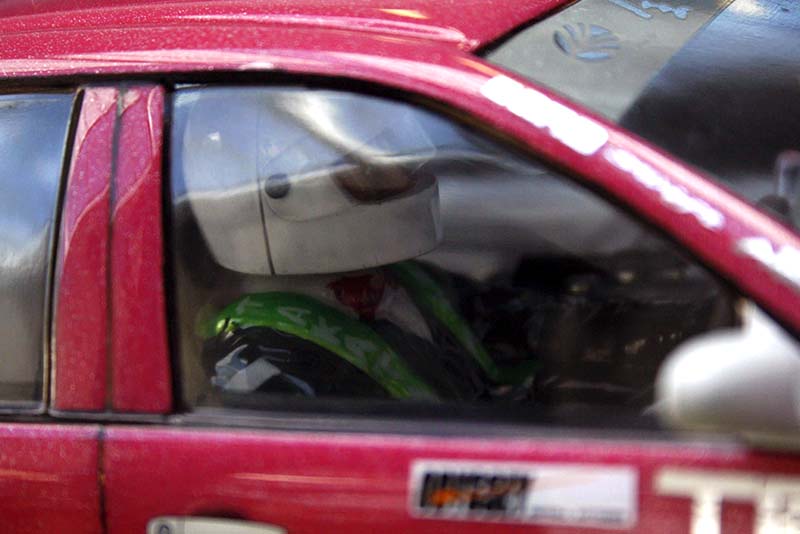
The dash and seat have been coated with something called “flocking”, basically it’s just crushed velvet fibers. You paint the surface and then sprinkle them on. It ends up looking like race car dashes that have been covered to prevent glare. There is also a carbon fiber sticker on the back of the seat to make it look like a true carbon fiber seat. The rest of the details are pretty basic paint wise. The driver has been given a “Takata” racing harness, a bowtie like the D1 driver Matt Powers and later on I will paint up the helmet like Chris Forsberg’s Drift Alliance / Rogue Squadron helmet. They are my two favorite US D1 drivers so I thought I’d give a nod to them. I also grabbed a piece of scrap lexan and made up the helmet visor. That isn’t included in the interior set from R2 Hobbies.

And here is everything lit up. It’s really hard to photograph when it’s inside the body but everything is mounted quite well now so I didn’t want to take it apart.

Here are some pictures that Brad took at the Halmstad meet.
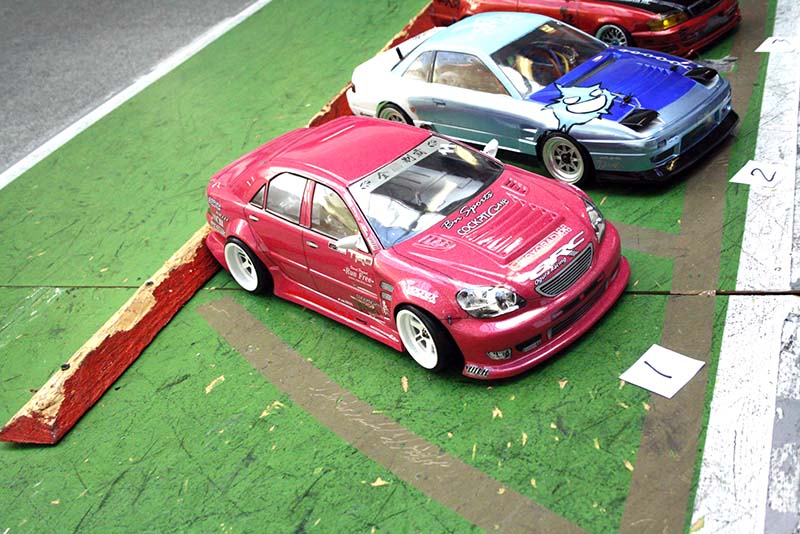

And here’s the result of all that hard work!
Comment here
You must be logged in to post a comment.