Painting lexan bodies can seem like a difficult task. However with a bit of knowledge, a good plan, patience, and the right tools it is easier than you might think.
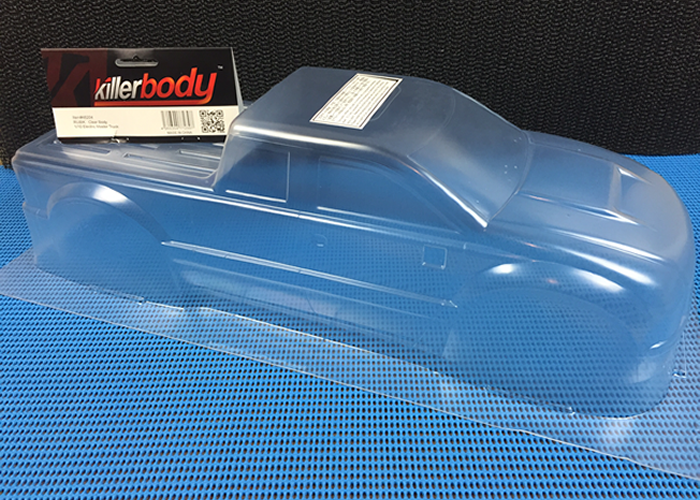
Ok, so you've gone through the Build Inspiration article and have your build planned, you've purchased the lexan body that will be the basis of your build. Now how do you paint it? Well lexan bodies are different from most traditional hobby vehicle bodies. They are clear plastic and this means that you are meant to paint them on the inside. This lets the body have a glossy finish after it has been painted. Most of us that grew up painting model cars are used to painting on the outside of the body so painting on the inside can seem a bit strange until you wrap your head around it.
Almost all lexan bodies come with an overspray film. This is a thin layer of plastic that covers the outside of the body to protect it from getting scratched during storage, shipping and while you work on it. You want to leave this on until after you have finished painting and are ready to apply the decals/stickers. The easiest way to tell if a lexan body still has the overspray film is it will not quite be crystal clear and has a milky or hazy appearance. Don't worry, once you remove the film it will be crystal clear and because you have painted on the inside your paint finish will appear nice and glossy. If you want a matte appearance, stay tuned, we'll cover that later.
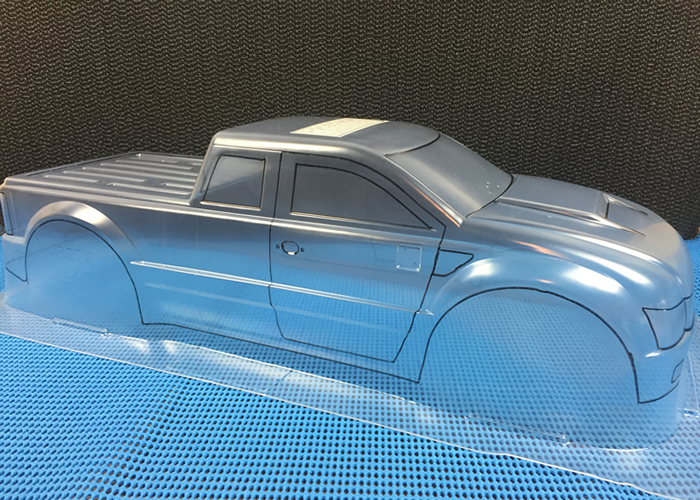
Lexan bodies must also be trimmed to the shape of the body as well as trimmed to fit your particular chassis. Most bodies have dimples that show you where to put the holes for the body posts (if you use posts) as well as lines to show you where you should trim around the bottom and the wheel wells. What I like to do is take a Sharpie Fine Line brand marker or similar fine tip marker with around a 1mm tip, and draw on the outside of the body. Remember, you're not drawing on the lexan itself, you're drawing on the overspray film so it's ok to make mistakes. I start out by tracing all the cut lines for the body so I can better see what I have to work with and will end up with. I then trace all the other lines like the ones marking the window edges as well as doors and door handles. Any detail on the body I mark out to make it easier to see what the body looks like. This also gives me reference points for the design I will be doing.
Once you have marked out the detail lines of the body you can begin to mark out your design. Again feel free to just draw whatever you want on the overspray film, if you don't like it, just take a bit of rubbing alcohol / nail polish remover and a cloth and you can remove your marks and start over. Better to make your mistakes here where you can remove them easily.
What sort of design you make is entirely up to you. You can make something that looks like a full size vehicle or something totally out of your own imagination that nobody has ever seen before. For the design of this body from KillerBody, which is the body for Project Stomper, we will be paying tribute to our sponsors. The main sponsor of the body is Asia Tees so that will be the majority of the theme and the secondary sponsor is the chassis sponsor which is CK Designs. The logos for these two companies will be represented on the body in different areas so as to give each their own space to be seen properly.
Painting lexan bodies requires specific paint formulated for lexan. If you use any other type of paint you run the risk of it either eating through the lexan plastic or having it flake off in large chunks anytime the body is bumped or flexed or even if the temperature changes. There are several companies that make lexan paint, Tamiya, Pactra, and Parma are among the most popular but there are others that are out there as well.
In the part 2 of this article we'll cover masking techniques to cover areas that you don't want painted such as windows and lights as well as for multi-color paint schemes.
[…] you have gone through the steps in the previous post of picking the body you want, marking out your desired design, and buying paint specially […]