Now that we have a rolling chassis, I bet many of you were probably hoping that this post would finally be something about Project Shorty's body but I'm going to leave you waiting for just a bit longer. However, this post does contain some clues about the body.
The Modifications
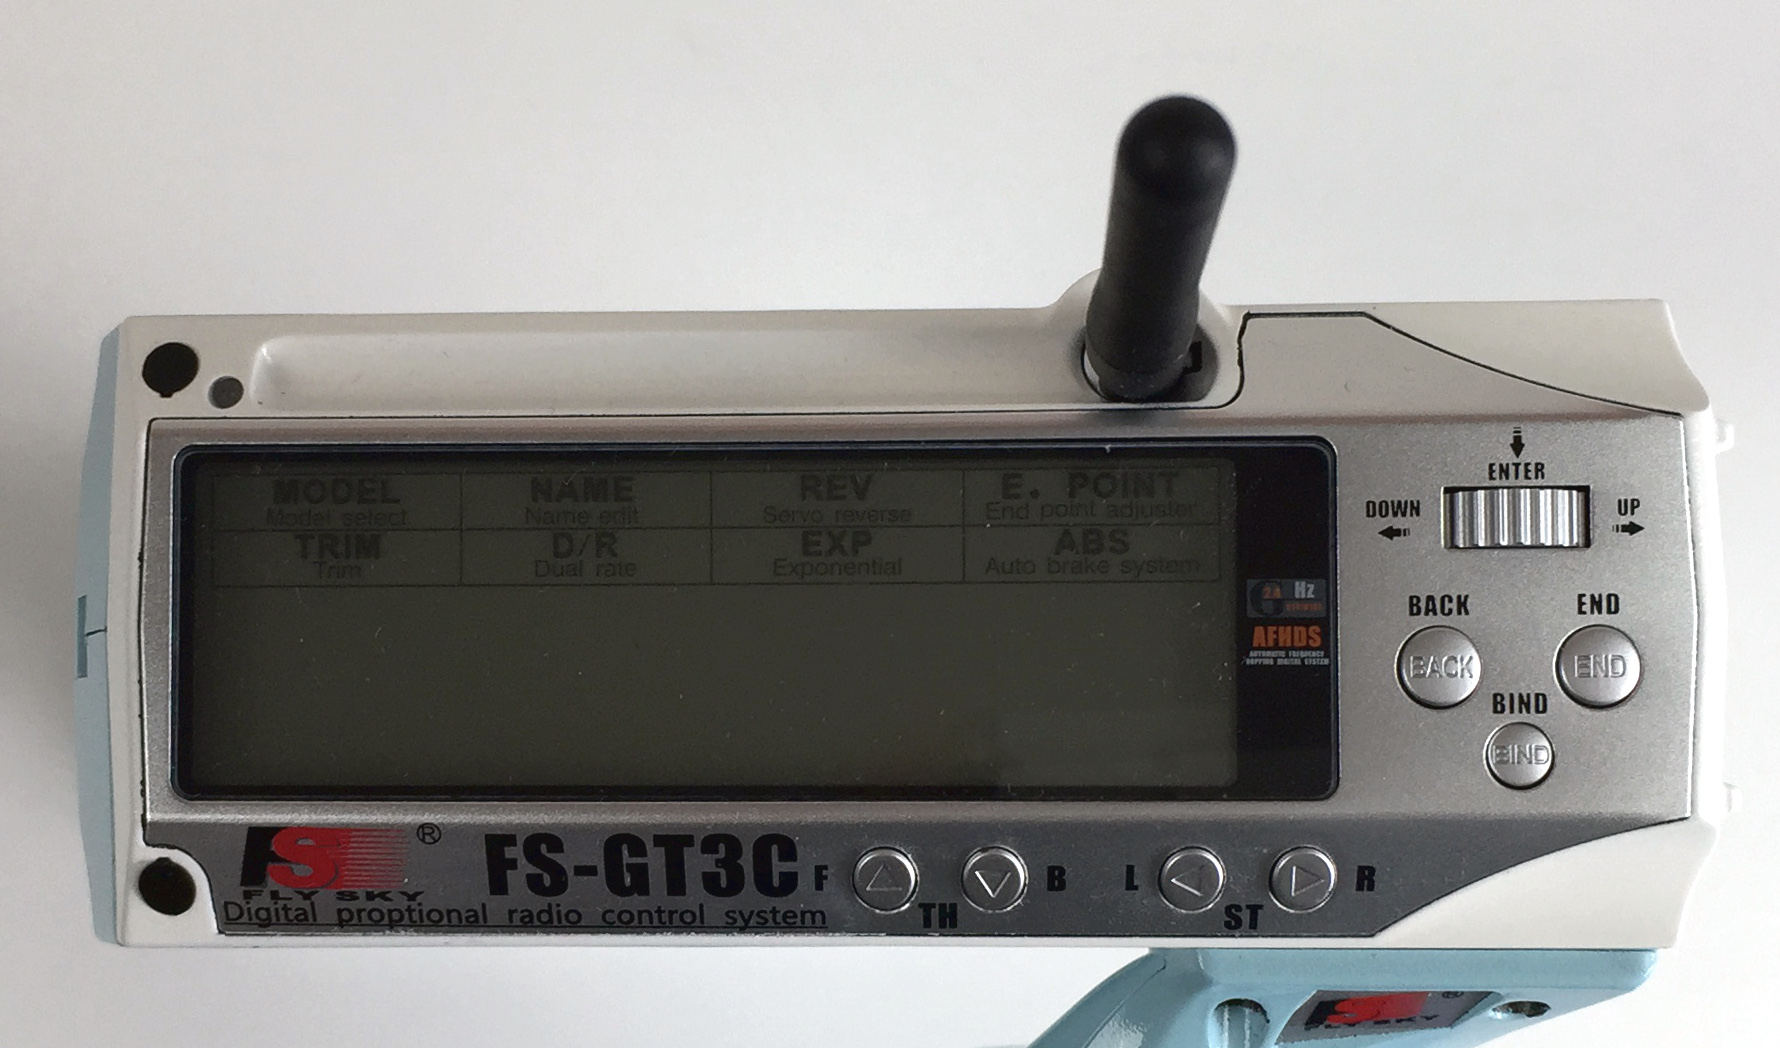
As Project Shorty is a gift for a first time RC'er, any ordinary radio just wouldn't do. After all what fun is it to receive a very custom crawler and have the radio just be a regular old black radio. So I decided to make the radio match the color scheme of Project Shorty. For the radio, I opted for the FlySky FS-GT3C. This radio is very very light weight, comes with a lipo battery and charger and an extra grip. It also comes with a software CD and connecting cable to be able to alter some settings via your computer. However what really attracted me to it other than the light weight was that with a little bit of work you can change it from a 3 channel radio up to 8 channels and from 10 model memory up to 60 as well as many more additional features. It simply requires a little bit of trimming on the case and some soldering.
First you solder on a 4 pin header which looks something like this:
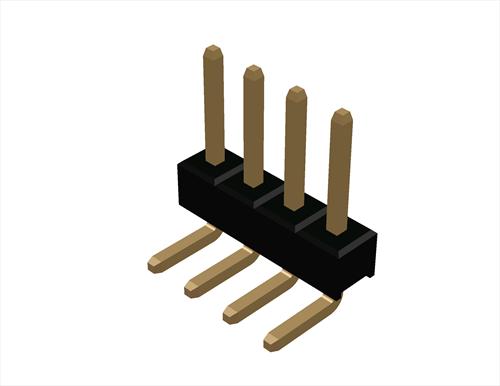
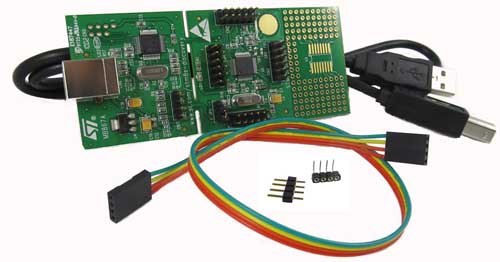
Once the header is soldered to the circuit board inside the radio you just need to make a notch in the radio shell to access it. You then need to purchase a programmer and you can upgrade the firmware. Firmware is similar to the operating system on your computer, Windows, OSX, Linux, etc. To upgrade the firmware you need this programmer and the accompanying software from Overkill RC.
The full features of the firmware upgrade can be found in the manual at the link above, but the key features are:
| • 2-8 Channels | • Assign ANY key to ANY function |
| • 60 Model Memory | • Dual esc, 4WS, & Brake Mixing |
| • Trim & Sub Trim's | • Multi-Position (2-8 True Pos) |
| • Expo & Dual Rates | • Channel Turn & Return Speed |
| • End Point Adjustments | • Timers |
| • ABS | • Adjustable Inactivity and Low Volt. Alarm |
Appearance
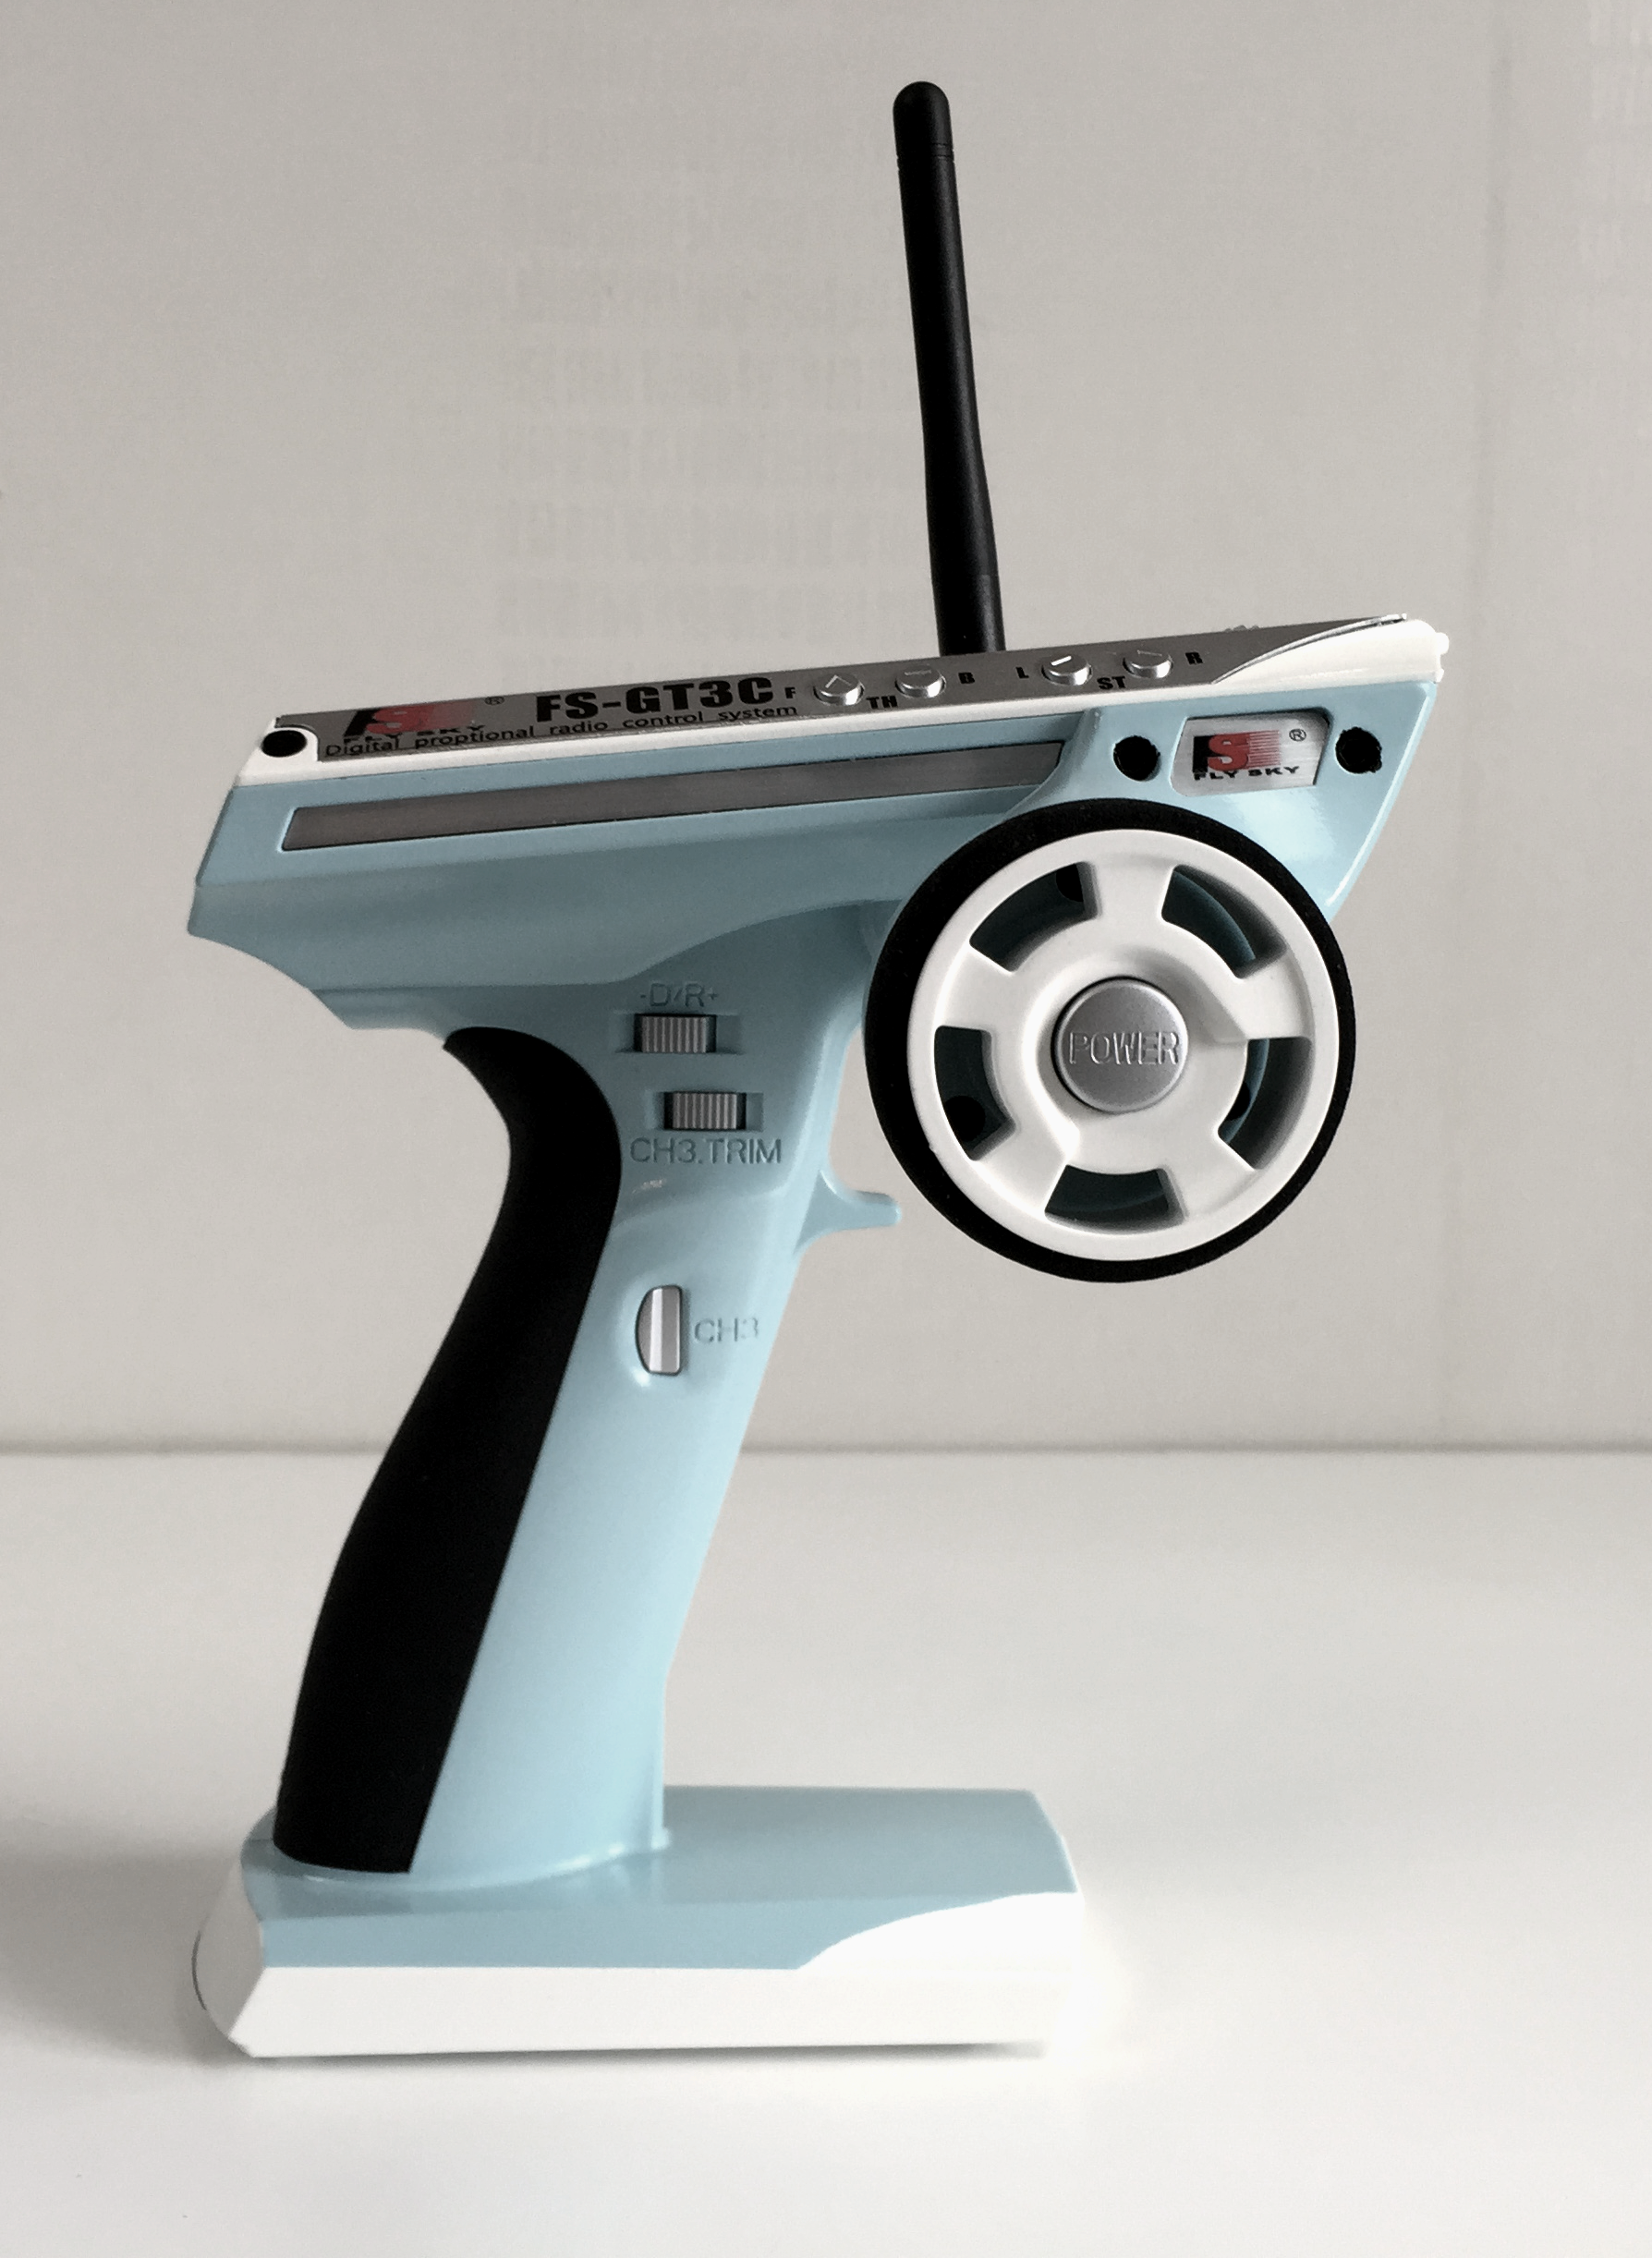
While the inner workings of the controller can be modified, they won't give it that custom look to go with Project Shorty. So I decided to take it apart and paint the shell to match Project Shorty's body. When taking apart anything, pictures are an invaluable resource to make sure that you can put it back together properly. Once I got the shell apart I took a picture of where all the wires were plugged in. Thankfully with this radio each connector has a different number of pins so that you can't put any of them back in the wrong place. In order to make the painting easier I actually de-soldered the antenna from the circuit board so that I could put the circuit board away somewhere safe while I did the painting. For paint I used the same process as I did on the chassis parts. I started with a good cleaning and drying of the parts, followed with several coats of a plastic primer. Then I sprayed the same Multona 0016 White as the painted chassis and suspension parts. This color will also be used on the body. In addition I added the main body color which is Multona 0746. Once the paint had fully cured I applied several coats of clear coat as the radio will see lots of handling. There will probably be some final touches such as adding some thin pinstriping and perhaps the recipients name but those will come after the final reveal.
Conclusion
I haven't done the firmware upgrade yet as I want the recipient of Project Shorty to get used to the radio as it is first before I add a bunch of new features. Project Shorty will be their first crawler and as such I don't want to throw too much at them all at once.
Comment here
You must be logged in to post a comment.